Installing Proxmox and Post Installation
How to install Proxmox VE on an old PC and run essential post-installation configuration using the Proxmox community helper scripts. Turn spare hardware into a home server.

Its 2025 most of us have a spare piece of Desktop or Laptop lying around, which seems like is not worth much. But using Proxmox that piece of old tech can make your life easier without a lot of trouble. You will not need a brand new unique system to run a server. Any PC should be fine after 2010, check specs for PCs that are older than 2010.
We will be Making a Bootable USB, Installing Proxmox and Setting up Post Installation process.
Prerequisite
Hardware
- USB Stick
- A Computer / Laptop to make USB Bootable
- Another Computer as Server
- WI-FI or A Lan Cable to connect Server to Router
Software
- Balena Etcher
Network
- IP Gateway (Router IP) Address and Subnet, Usually 192.168.x.x/24
Pre-Installation
Before Installing Proxmox we have to make a bootable USB drive. And our system ready to boot from USB.
Prepare USB
- Download Proxmox VE from Official Proxmox Site
- Download Balena Etcher from Balena Etcher Official Site
Flash Downloaded ISO file to USB
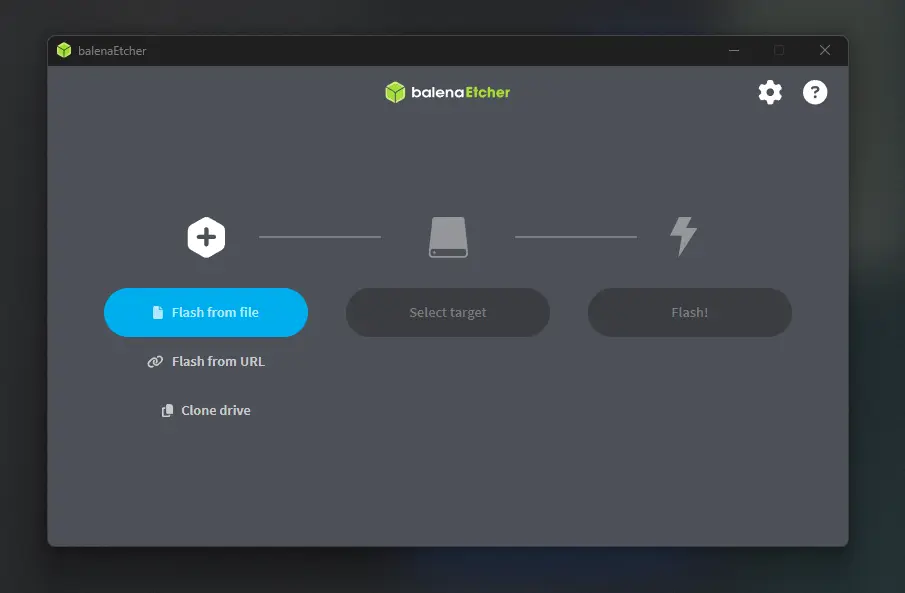
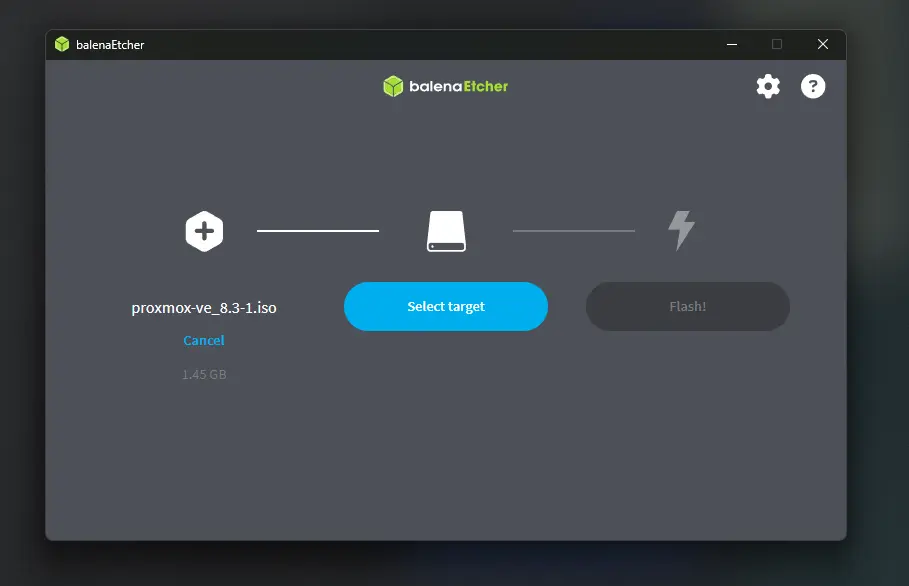
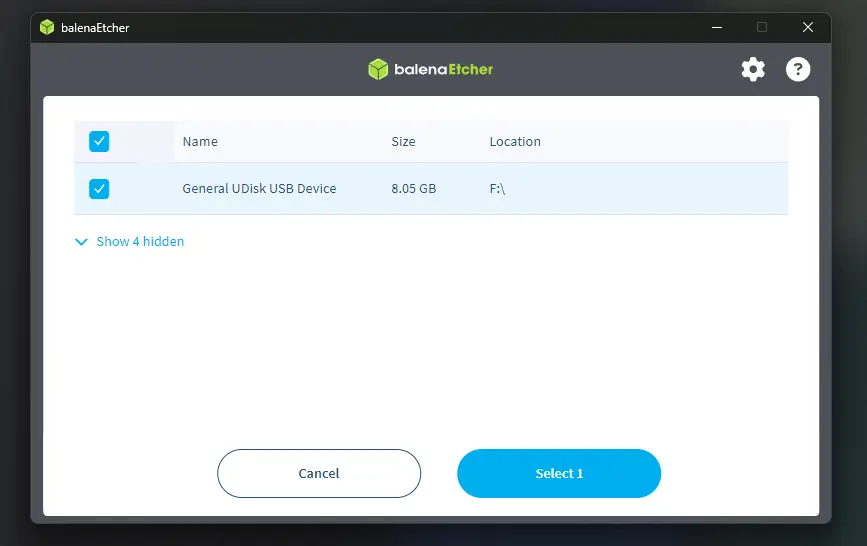
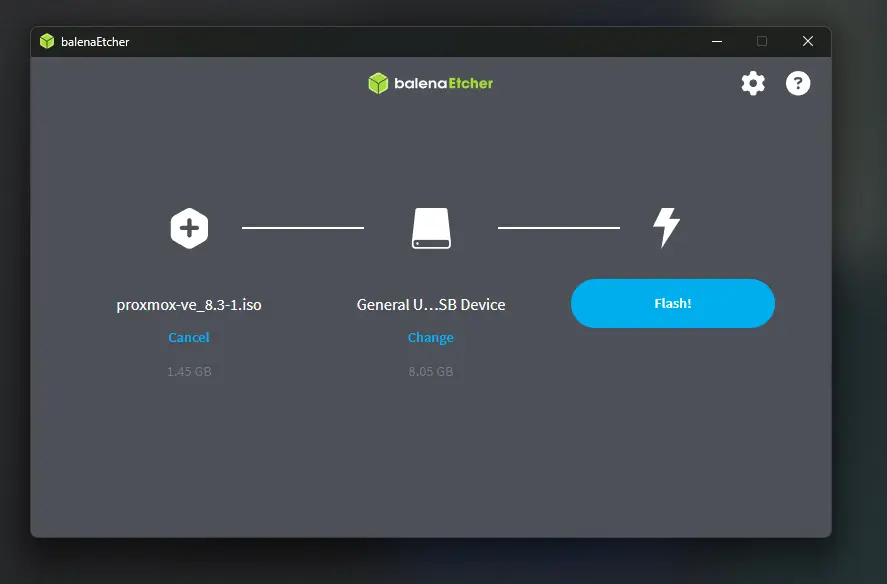
1
⚠️ Make sure you select right device
- Select Yes on Windows Prompt.
- Let it Flash.
- Done
BIOS Settings
- Connect your USB
- Start/Restart this machine.
- During Boot, open BIOS/UEFI settings using
F8orDELkey. - Now look for Boot Order. Look for Boot option on top.
- Select your USB as boot device.
- Now this will boot to Proxmox Installation.
Boot Configuration GUI varies with motherboard manufacturer. Please look for your specific Motherboard Bios settings in the internet.
Installation
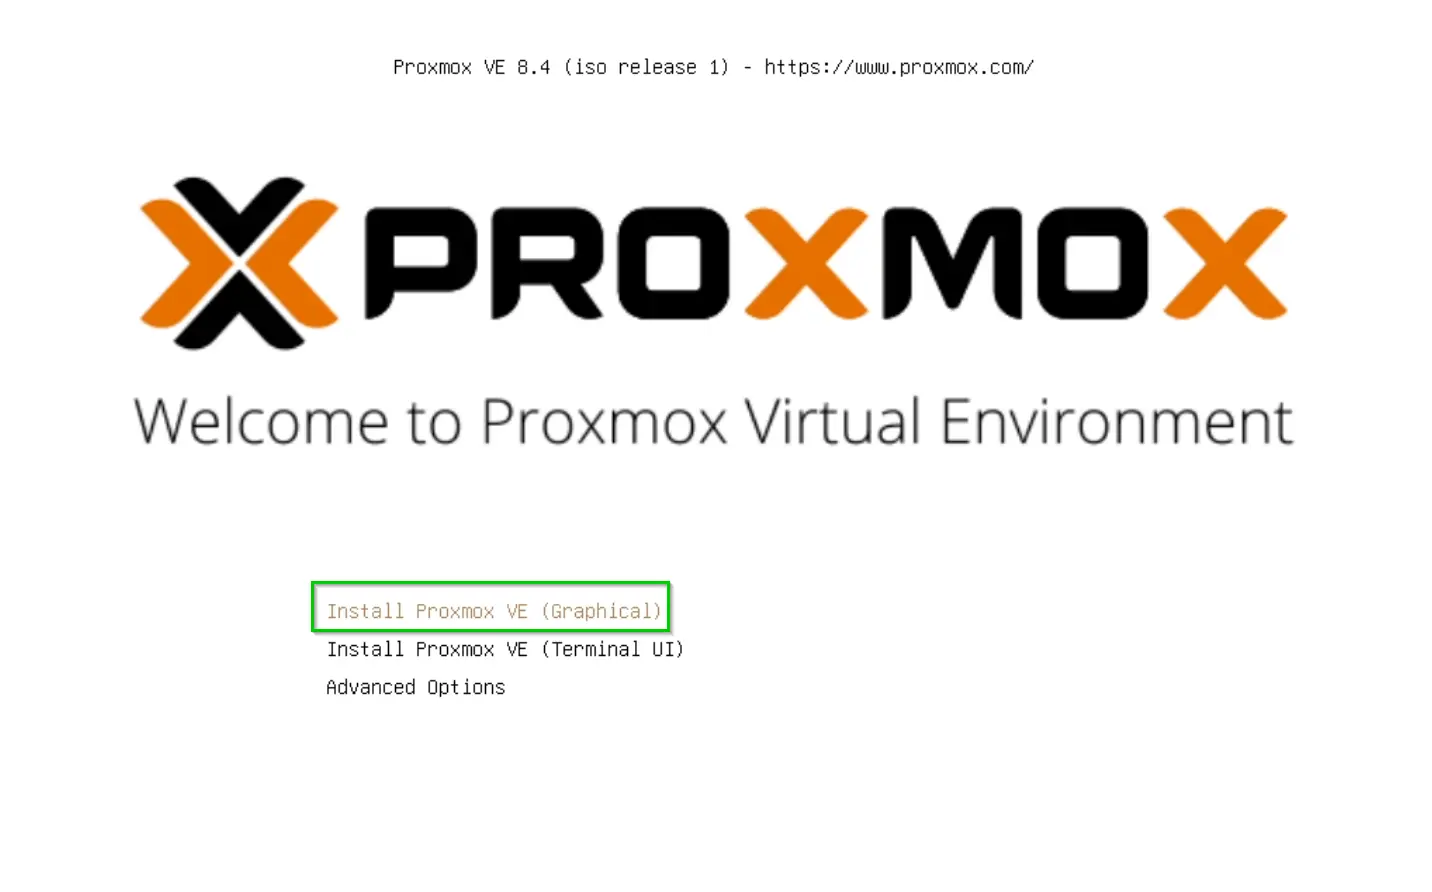
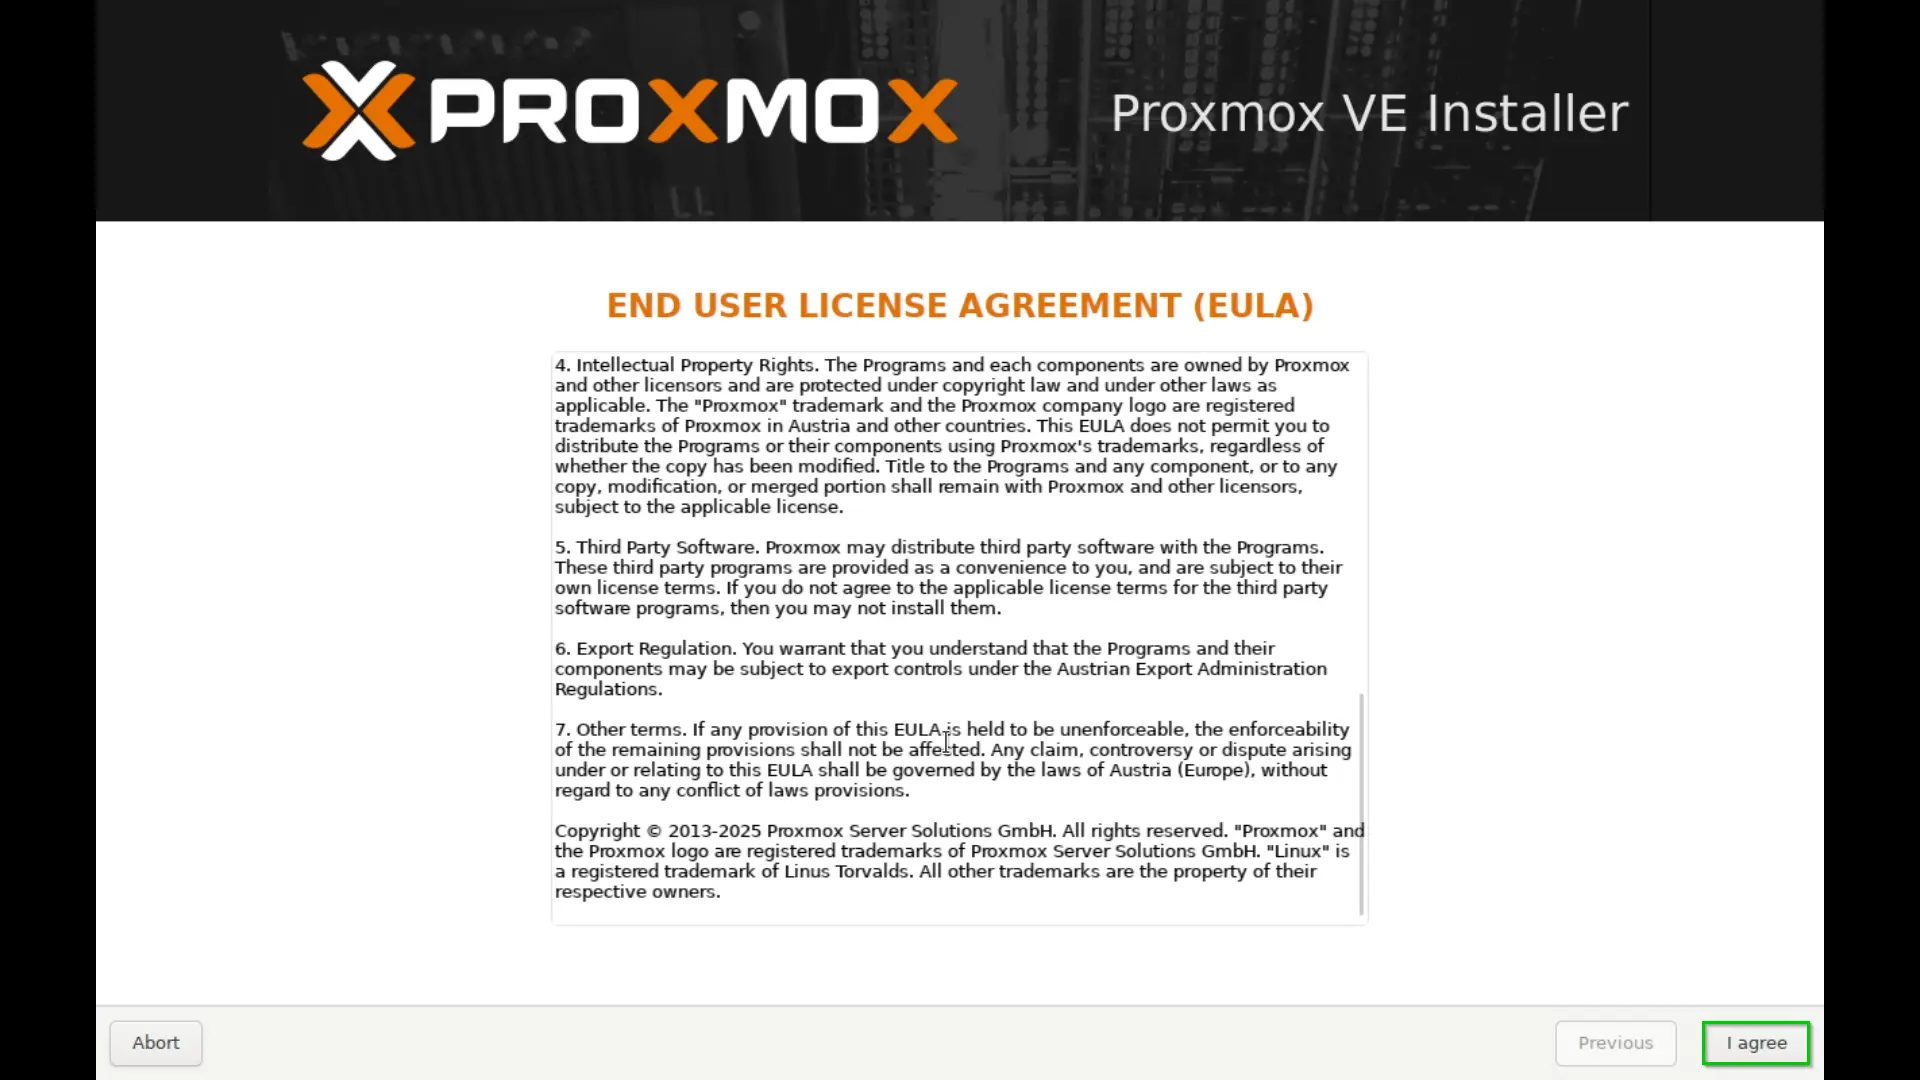
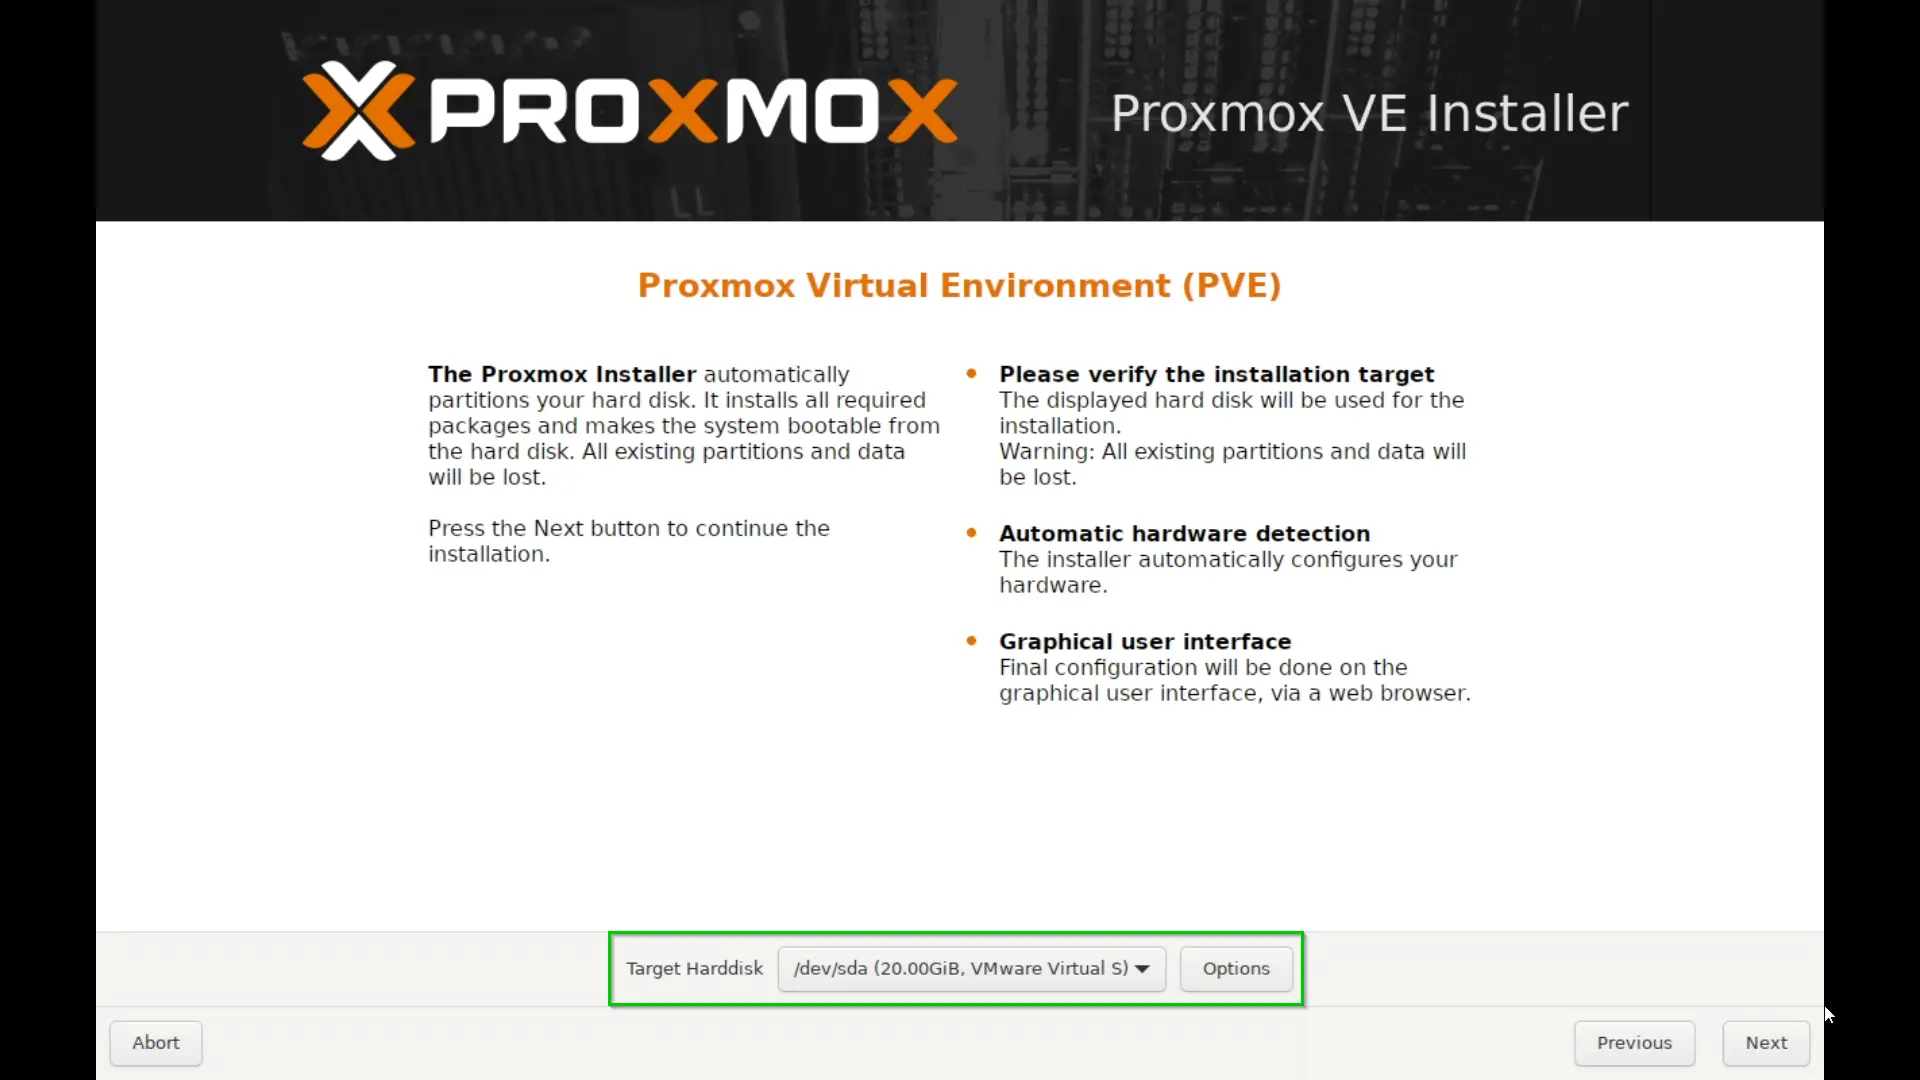
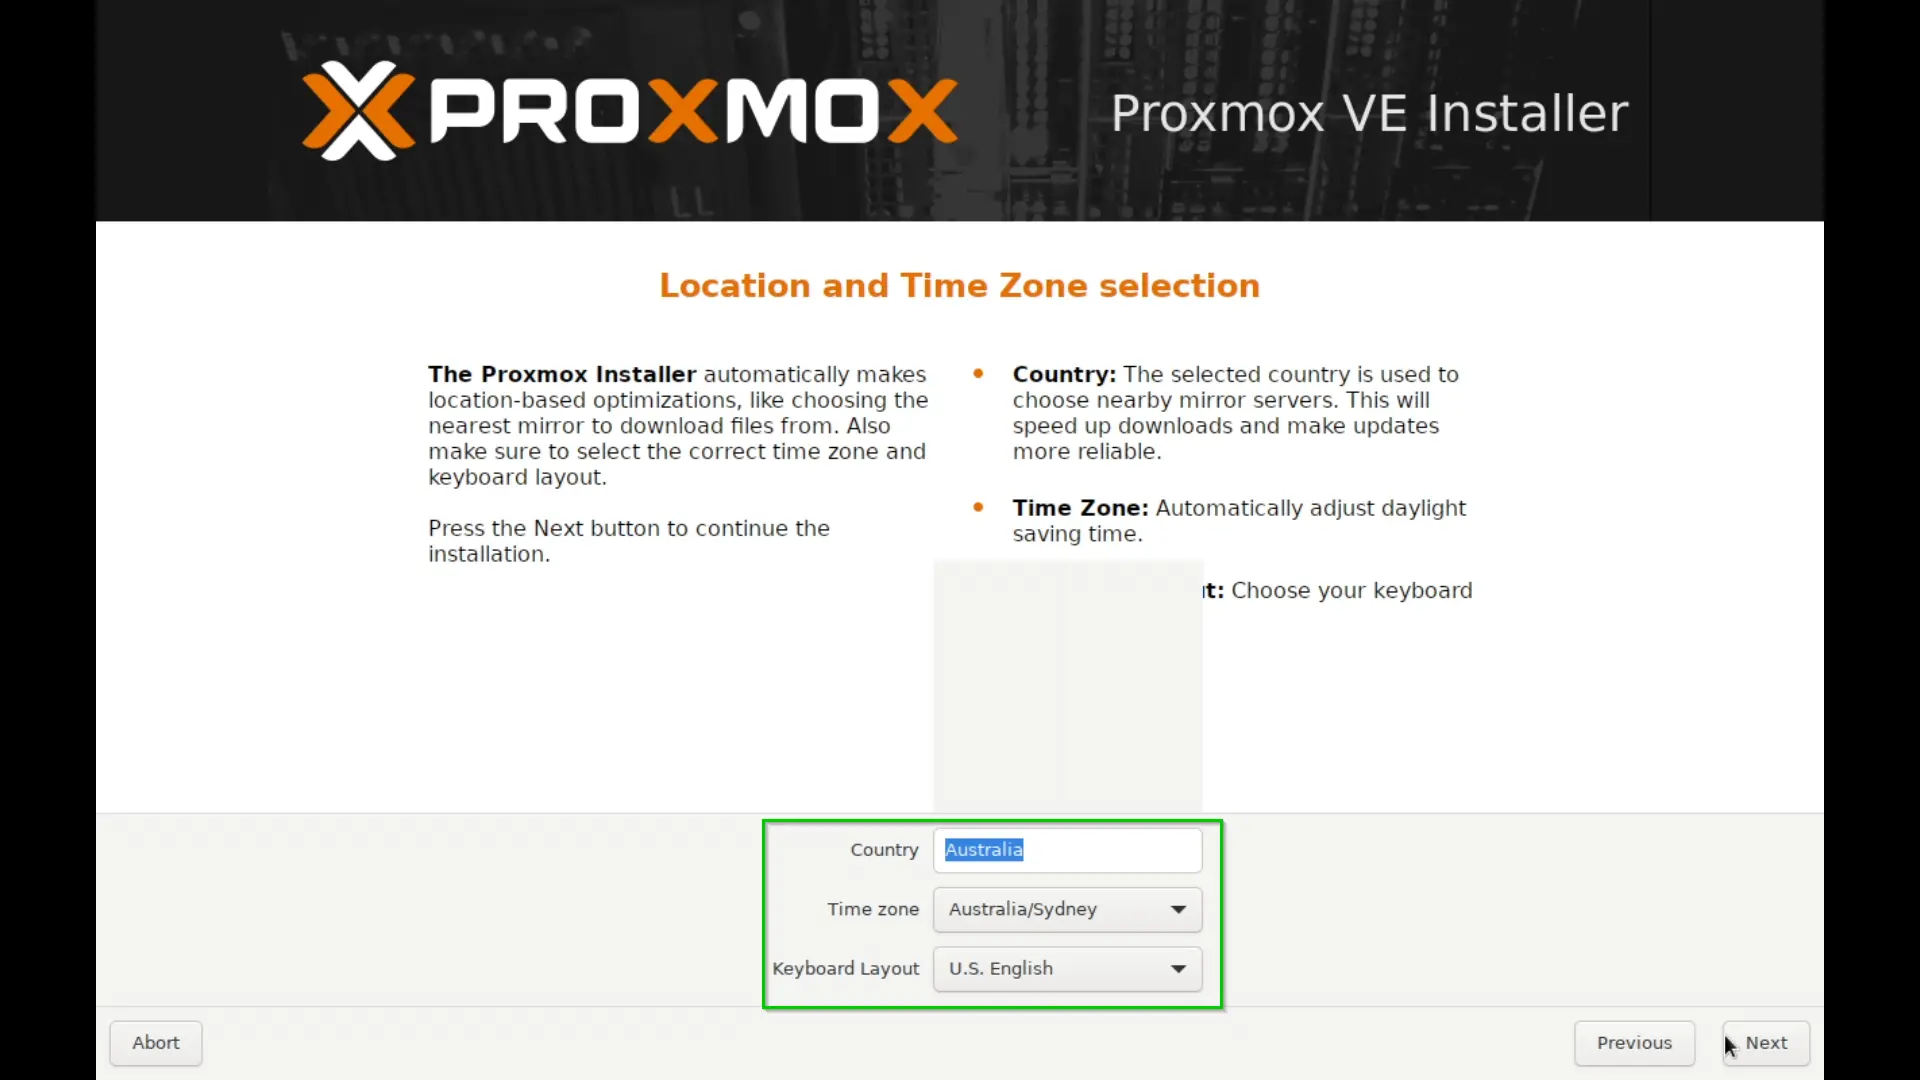
During installation you will be prompted with the steps below. Here I have highlighted the selection with Green and things to consider on Purple
- Select Install Proxmox VE (Graphical)
- Read The EULA and Agree (Mandatory for Installation)
- Make sure you select the correct Disk here, one way to see correct disk is Size of the disk. But if you have only one disk you can go next as it will be default.
- Make sure you select your correct Location and Time Zone here.
- Write your desired password, Make sure you remember it and it complies with the policy highlighted in purple.
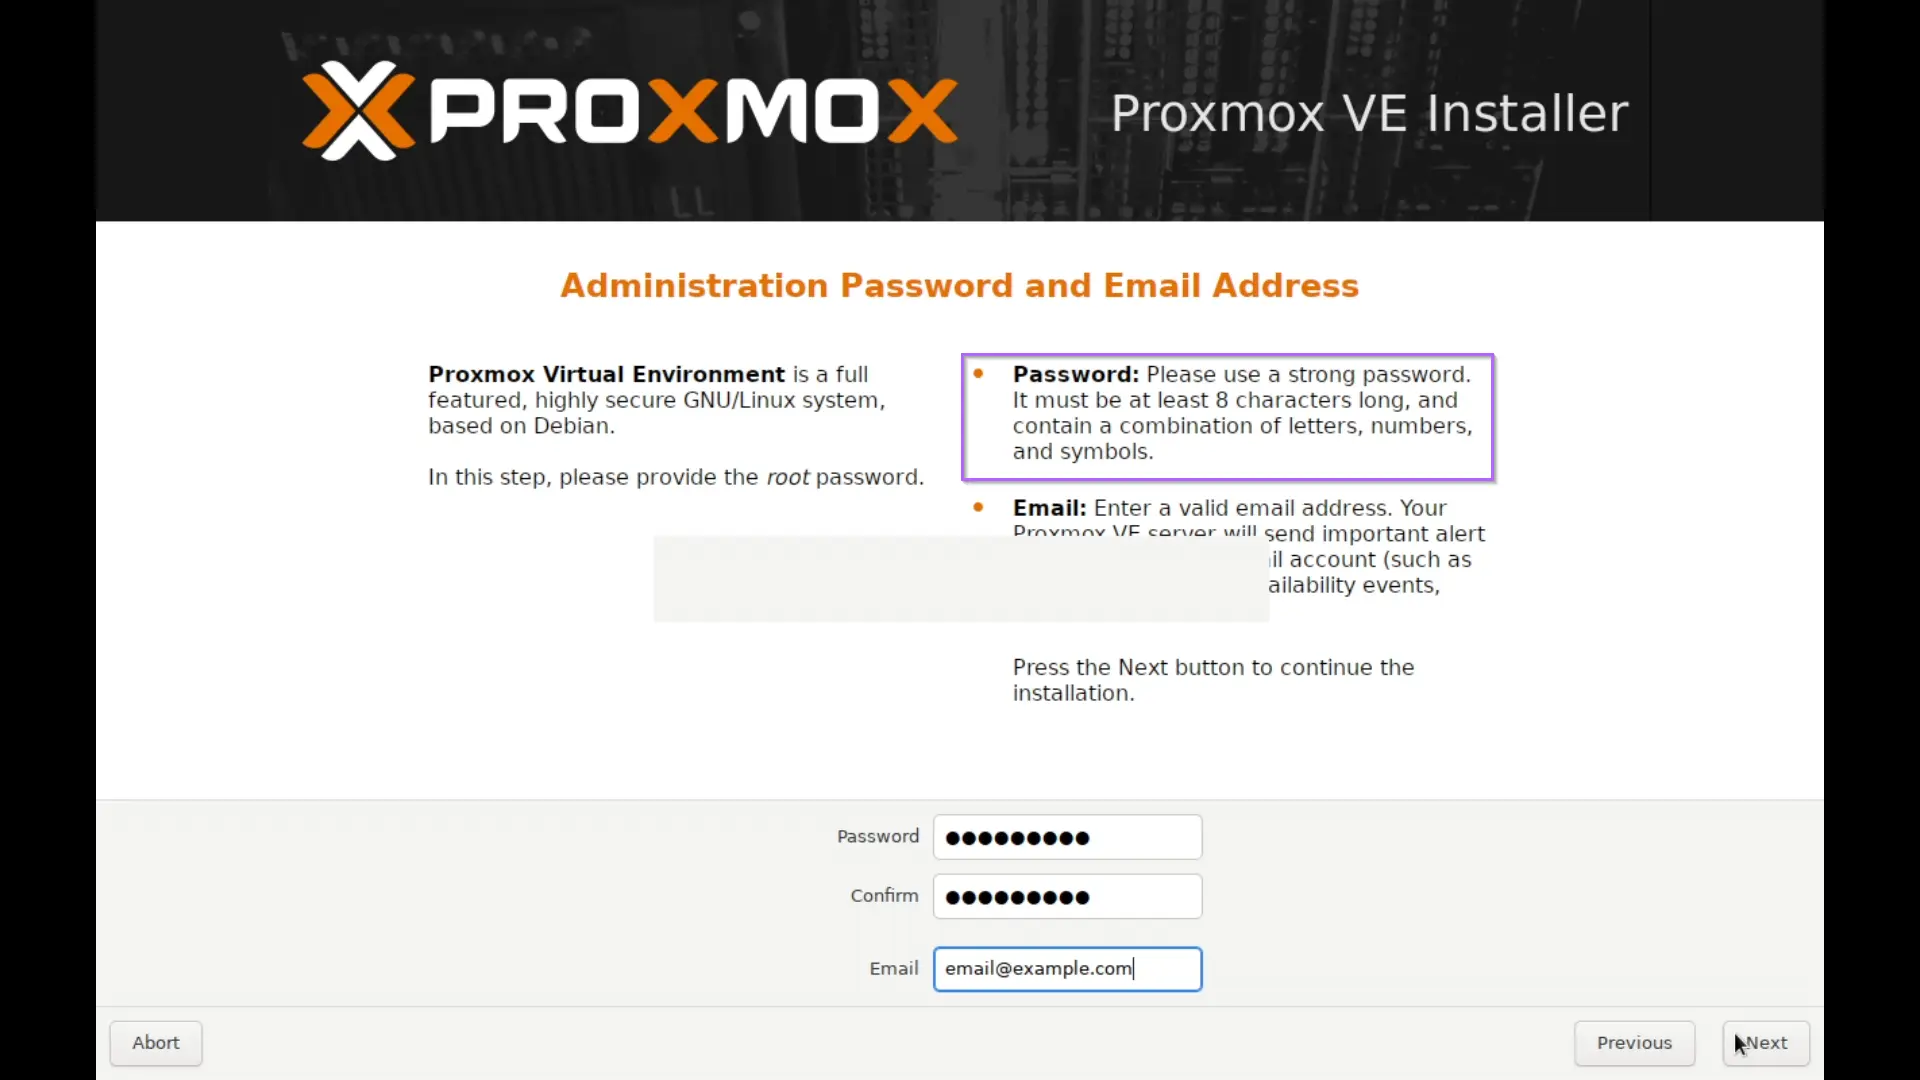
- ⚠️ Network is arguably most important section here because once its set up, we will be accessing Proxmox only through web.
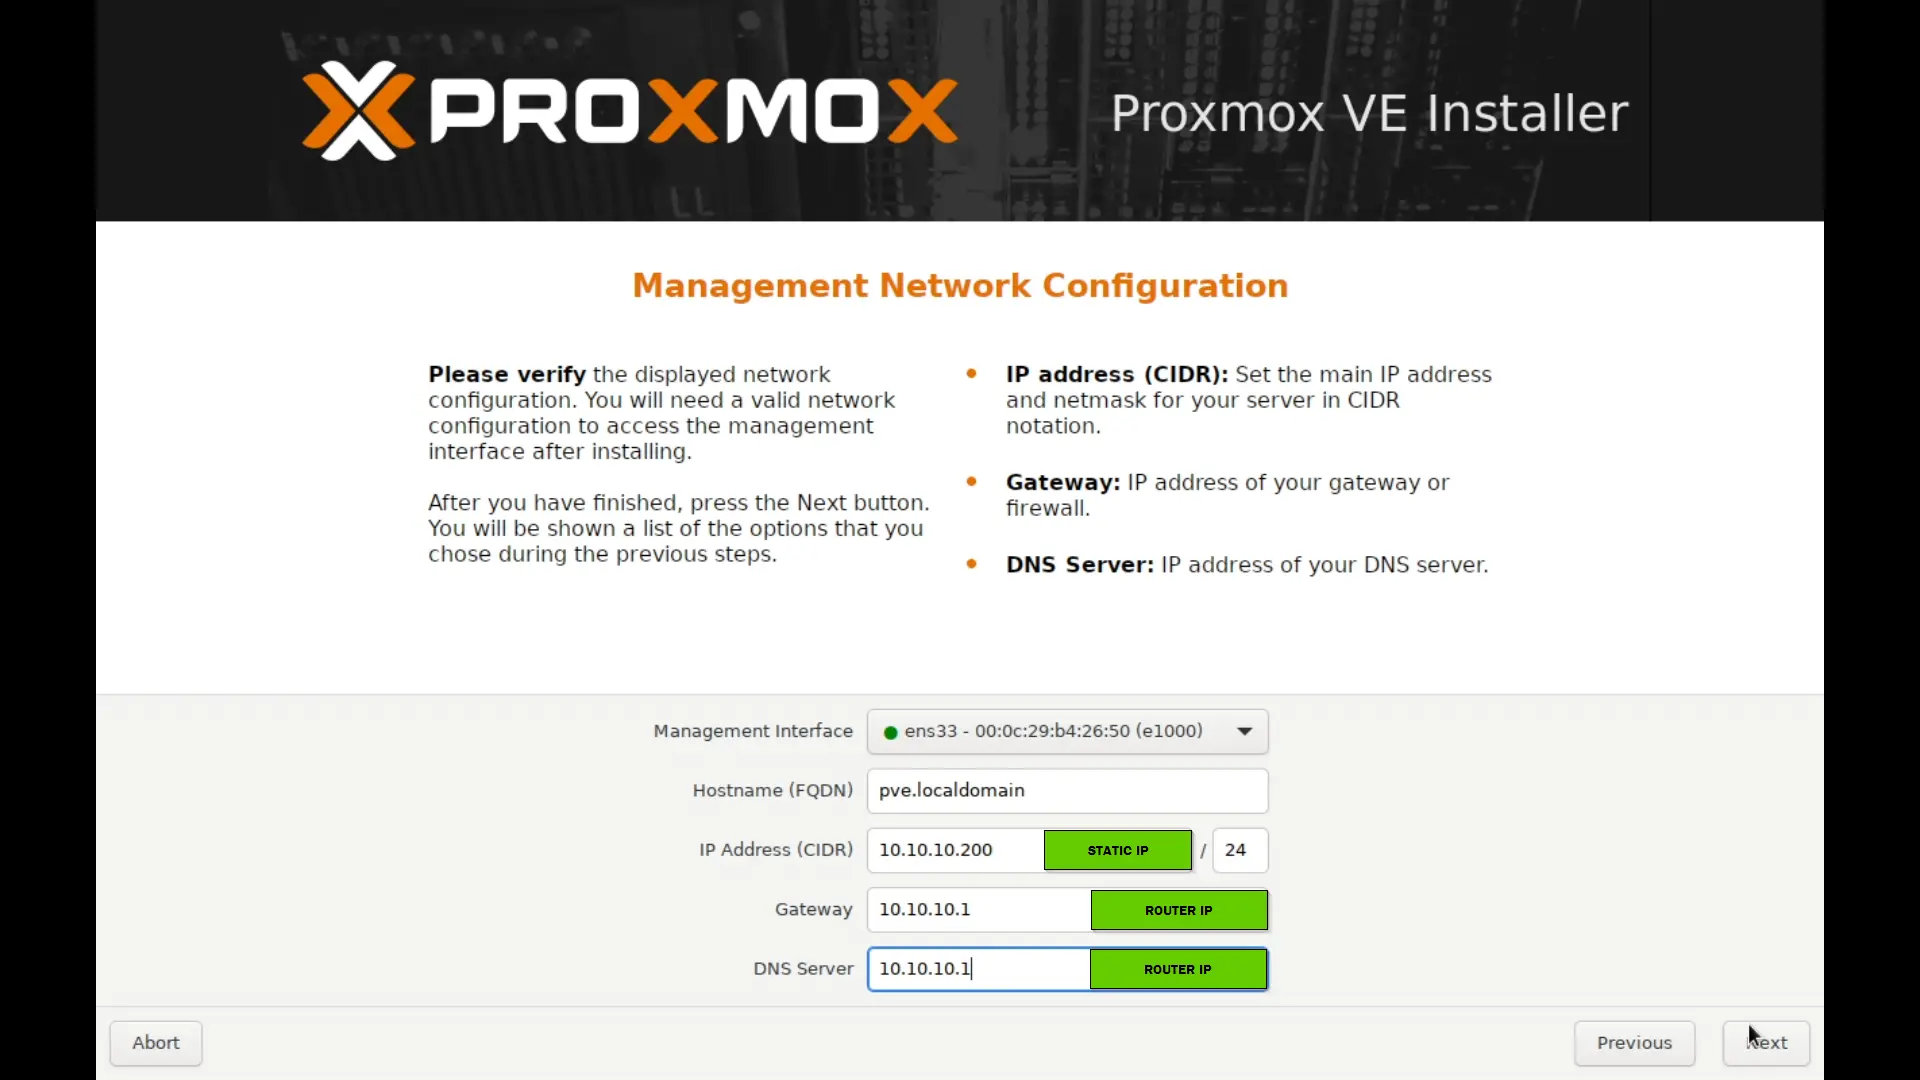
- IP Address (CIDR): This is where you allocate your static IP so it does not change in future and mess up with settings. Its borderline mandatory to have static IP. If you have Ethernet connected your Router will allocate an IP , change it. Personally i recommend changing last bits over 100 and leave subnet to 24.
- Gateway : Router IP (Usually prefilled)
- DNS Server: Router IP. I recommend router IP so if i change my DNS in my router its global for all devices in LAN. You can also opt to
1.1.1.1for Cloudflare or8.8.8.8for Google’s DNS server.💡 All of the Network settings can be changed later too. These settings make sure we have Initial Network Access.
- Summary: Final summary of all our configuration before we proceed with Installation.
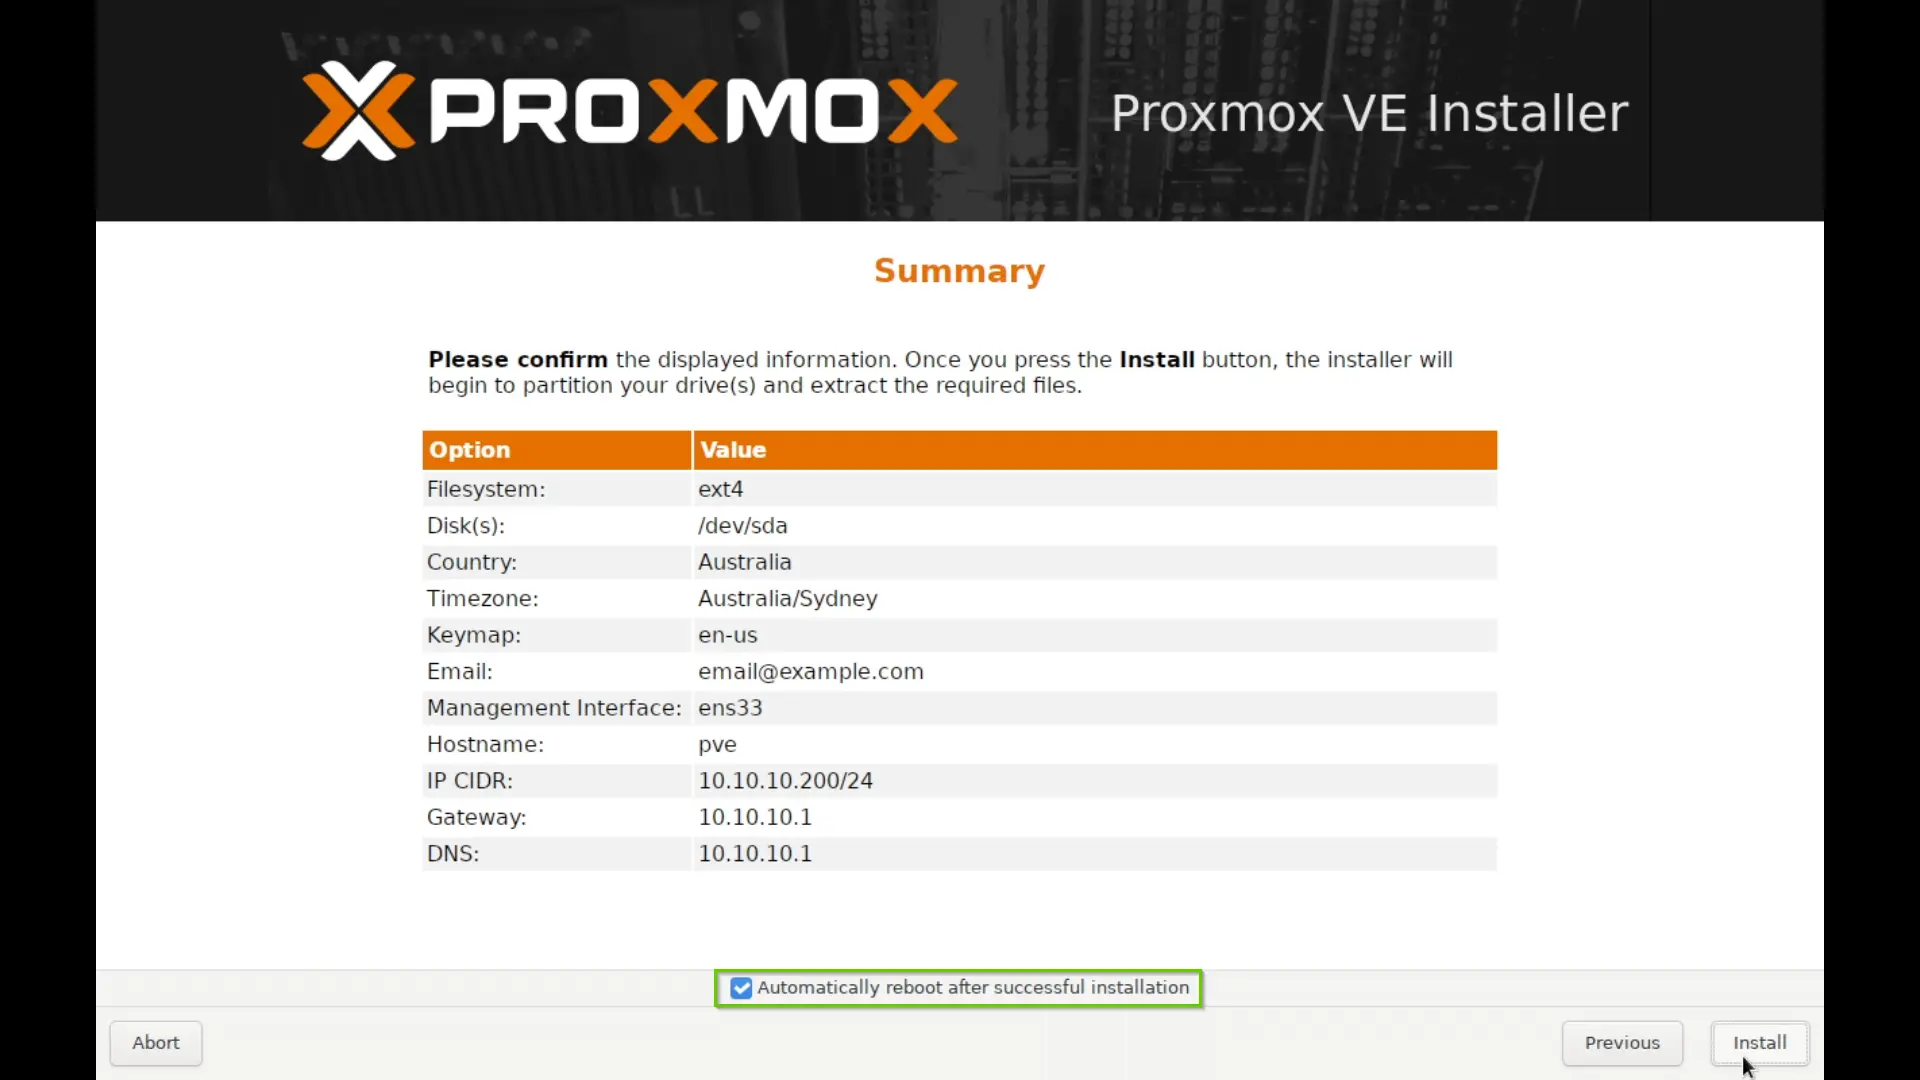
- After clicking Install it will take a couple of minutes to finish Installation and reboot Automatically.
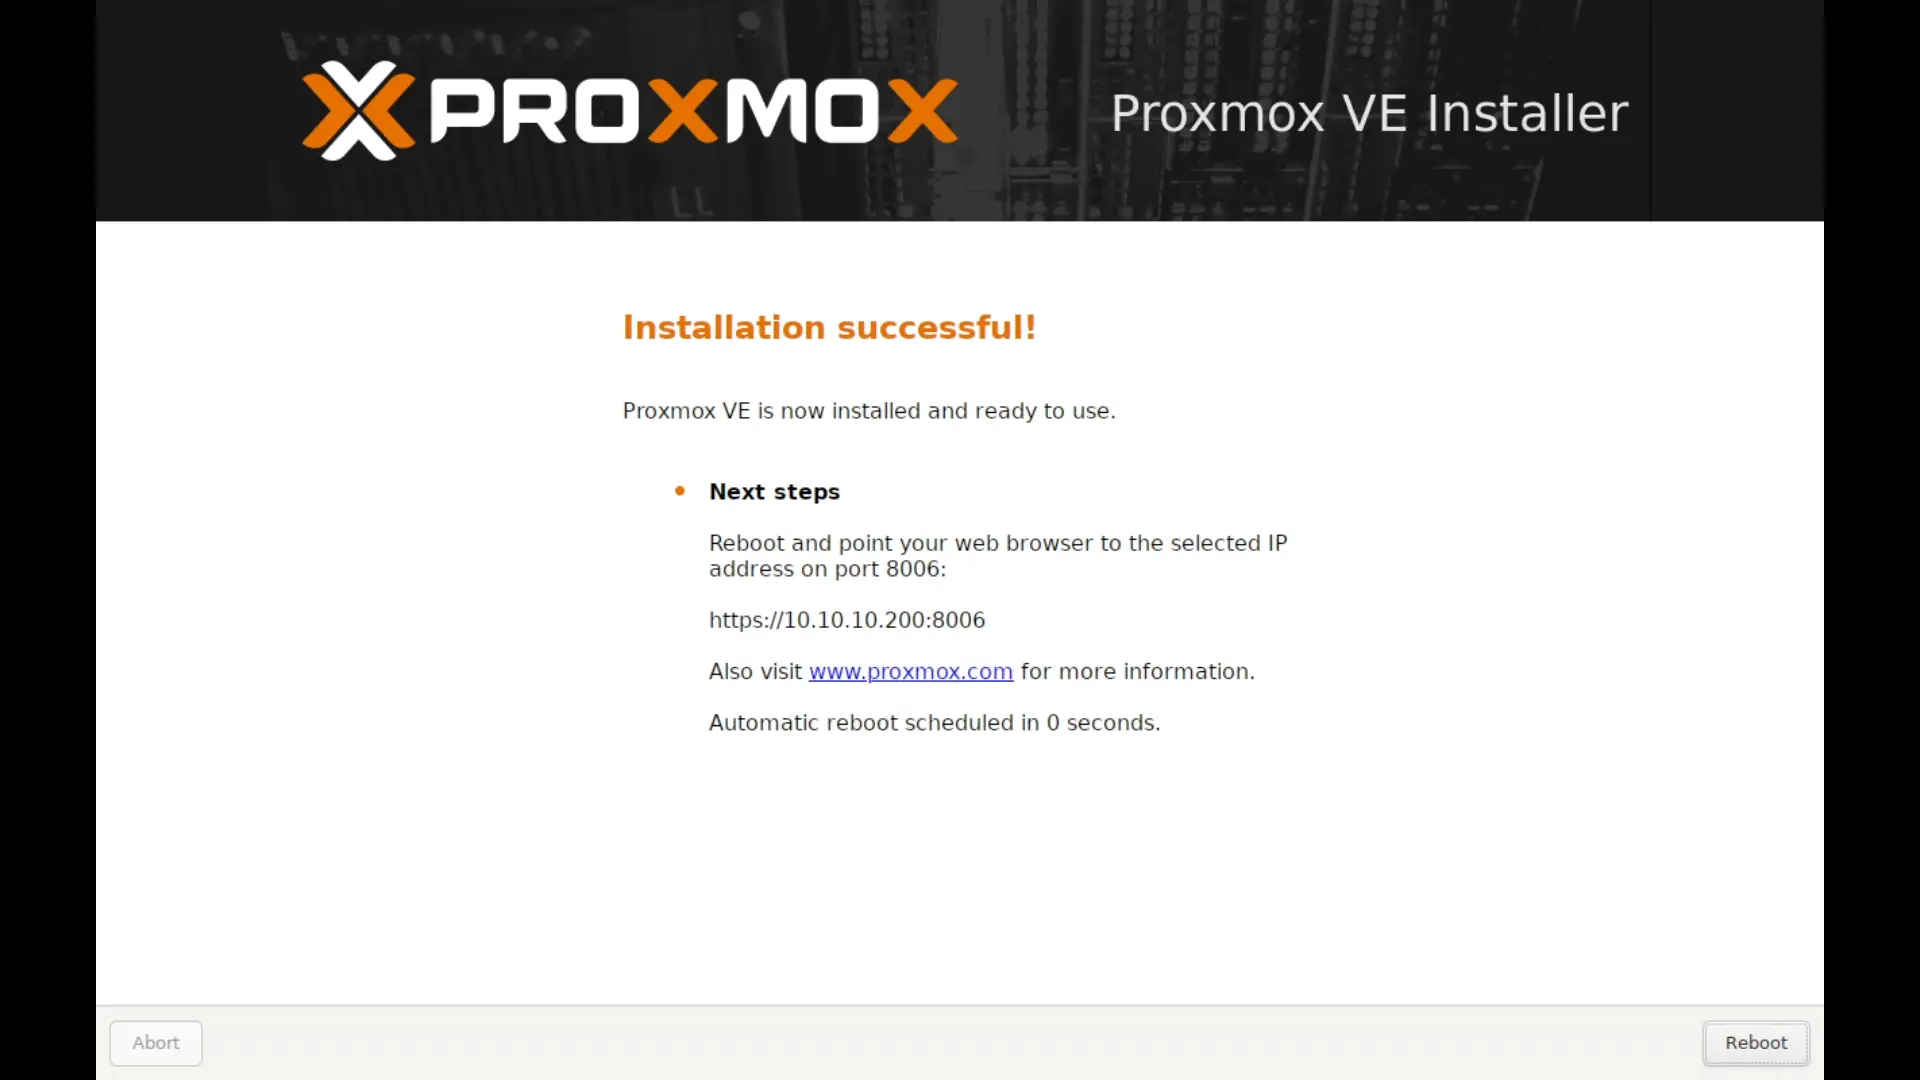
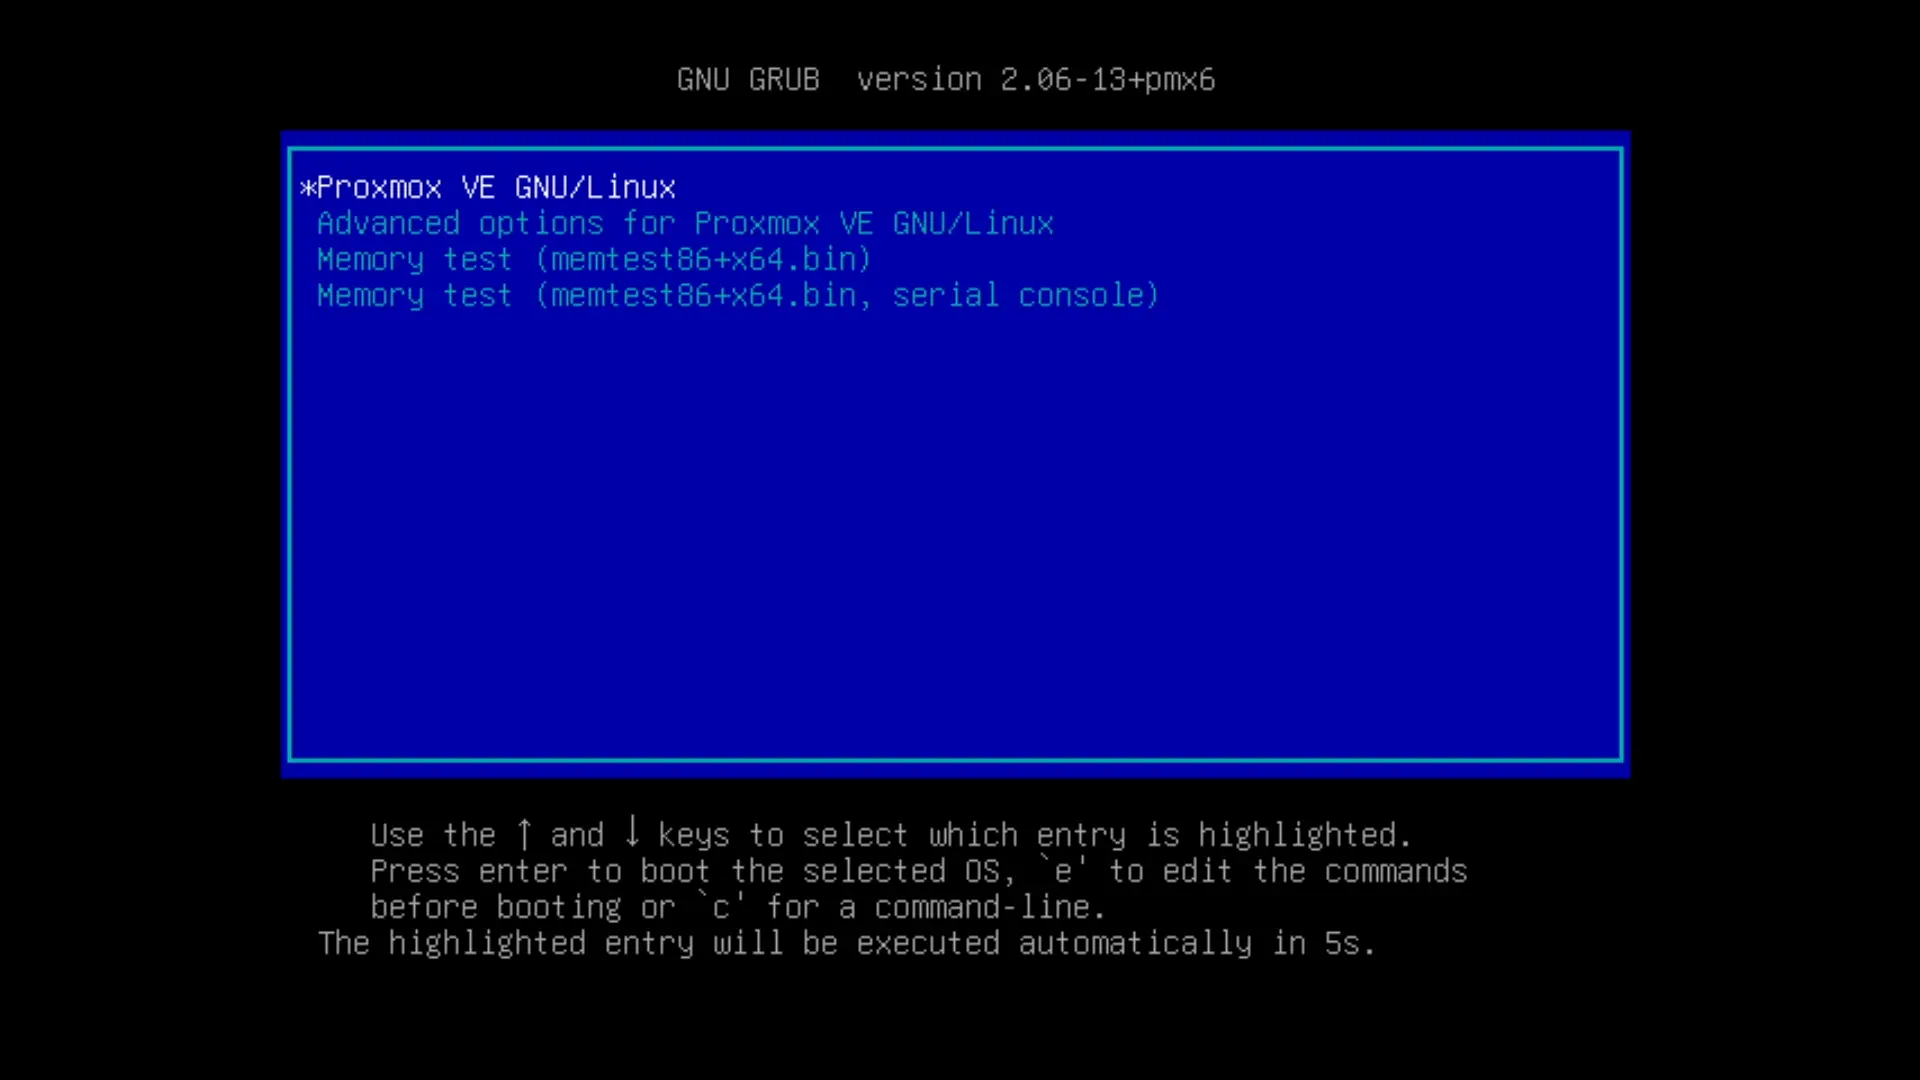
- After Reboot Select First option i.e. “Proxmox VE GNU/Linux” and Enter.
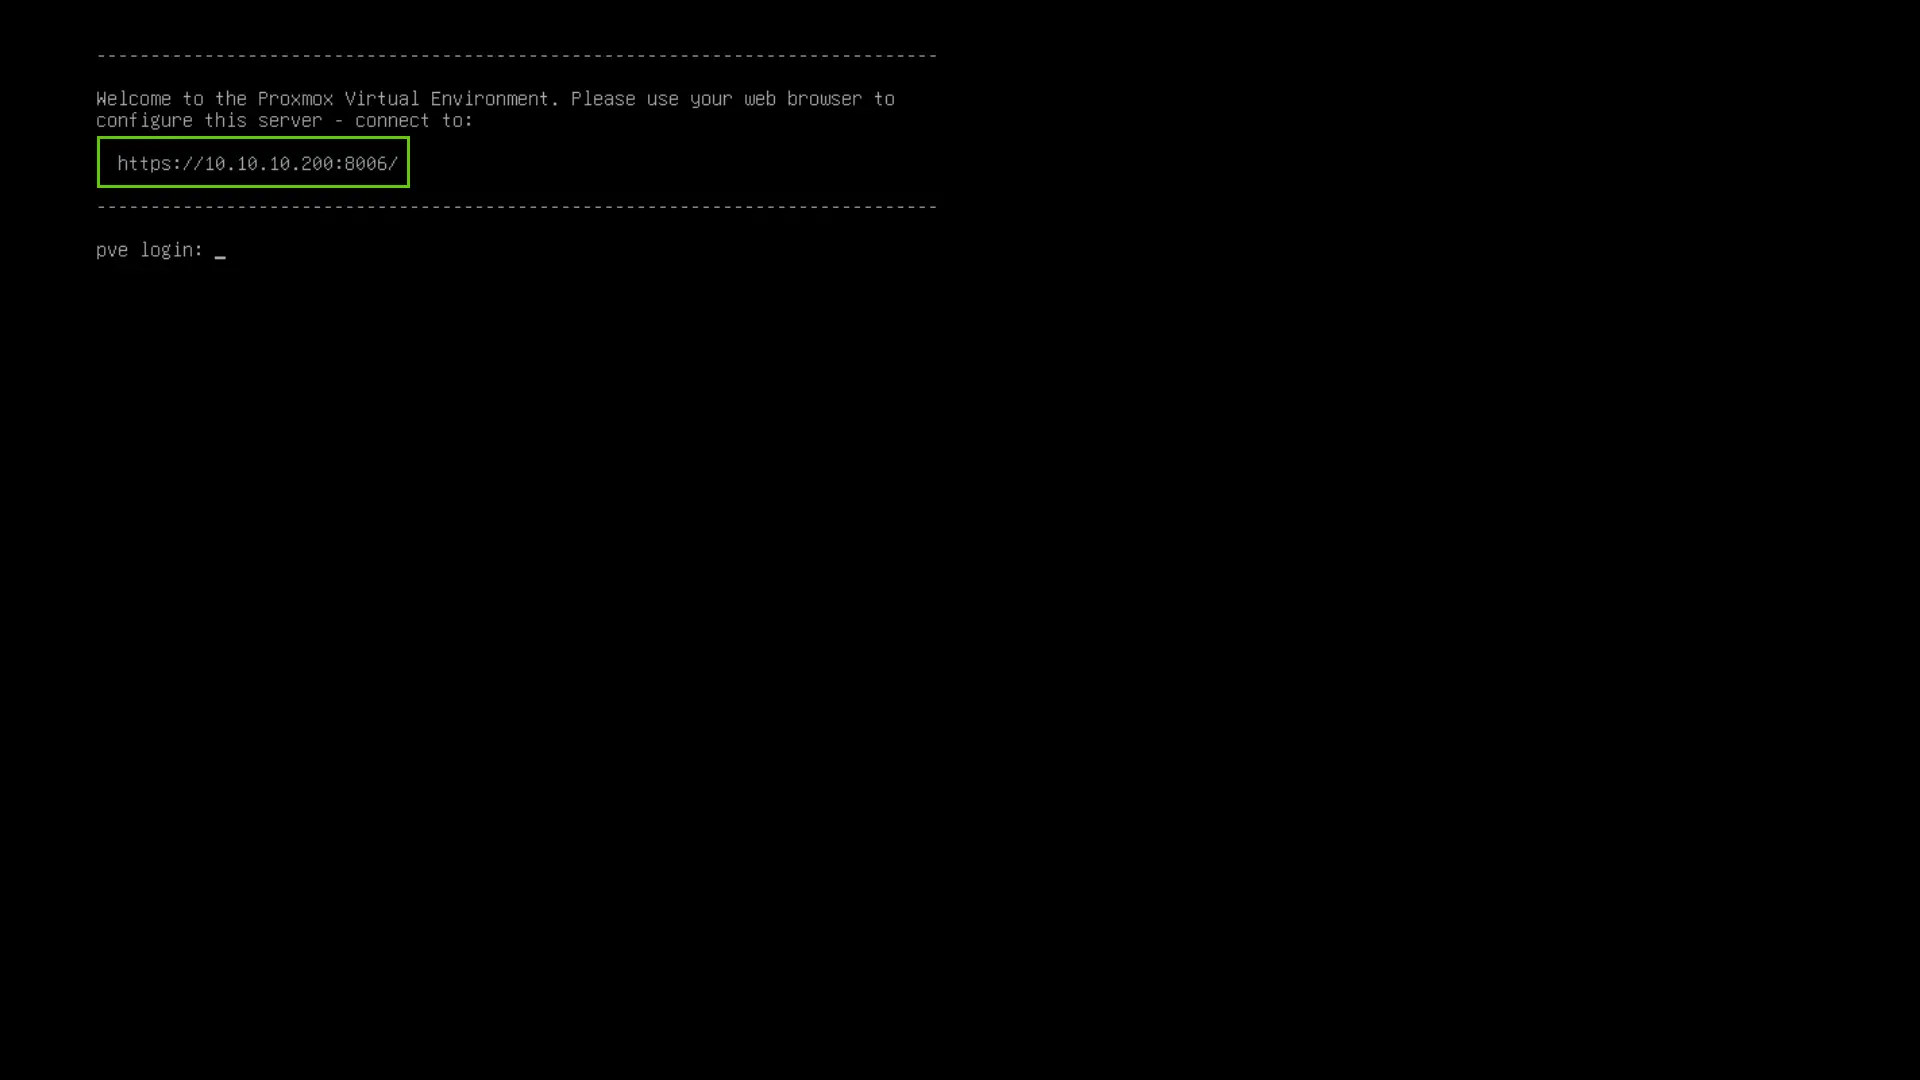
- You will see Your IP and Port 8006 on the top. Yours will be different from mine. This is how we will access the web app and carry on from. Now you can remove monitor from proxmox server and move it to its designated area and will barely need to touch the hardware. Power and LAN is important and that’s all we need.
First Access and Post Installation
- Go to the given URL on your browser.
- Since its self signed Certificate it will warn you. Accept the risk and continue.
- Now for username
rootandpasswordis what we set during installation. - Once we login we will be prompted A subscription message. Click OK.
Post Installation and Scripts
Here comes the magic of Proxmox Community. Proxmox is an open source software with a huge community behind it. The project “Proxmox VE Helper-Scripts” was started by a user who went by name “Tteck” . He sadly passed away and the scripts are maintained by community in a community github repo and can be accessed at https://community-scripts.github.io/ProxmoxVE/ .
We will be using “Proxmox VE Post Install” Script. This script will updates our proxmox, disables bunch of features which are redundant in our use case and also modifies repos. Apart from that it also disables “Subscription Nag” , that ok option every time you have to hit when you open it up.
This is strongly recommended to run Immediately after Installation.
- Below Datacenter Click on pve.
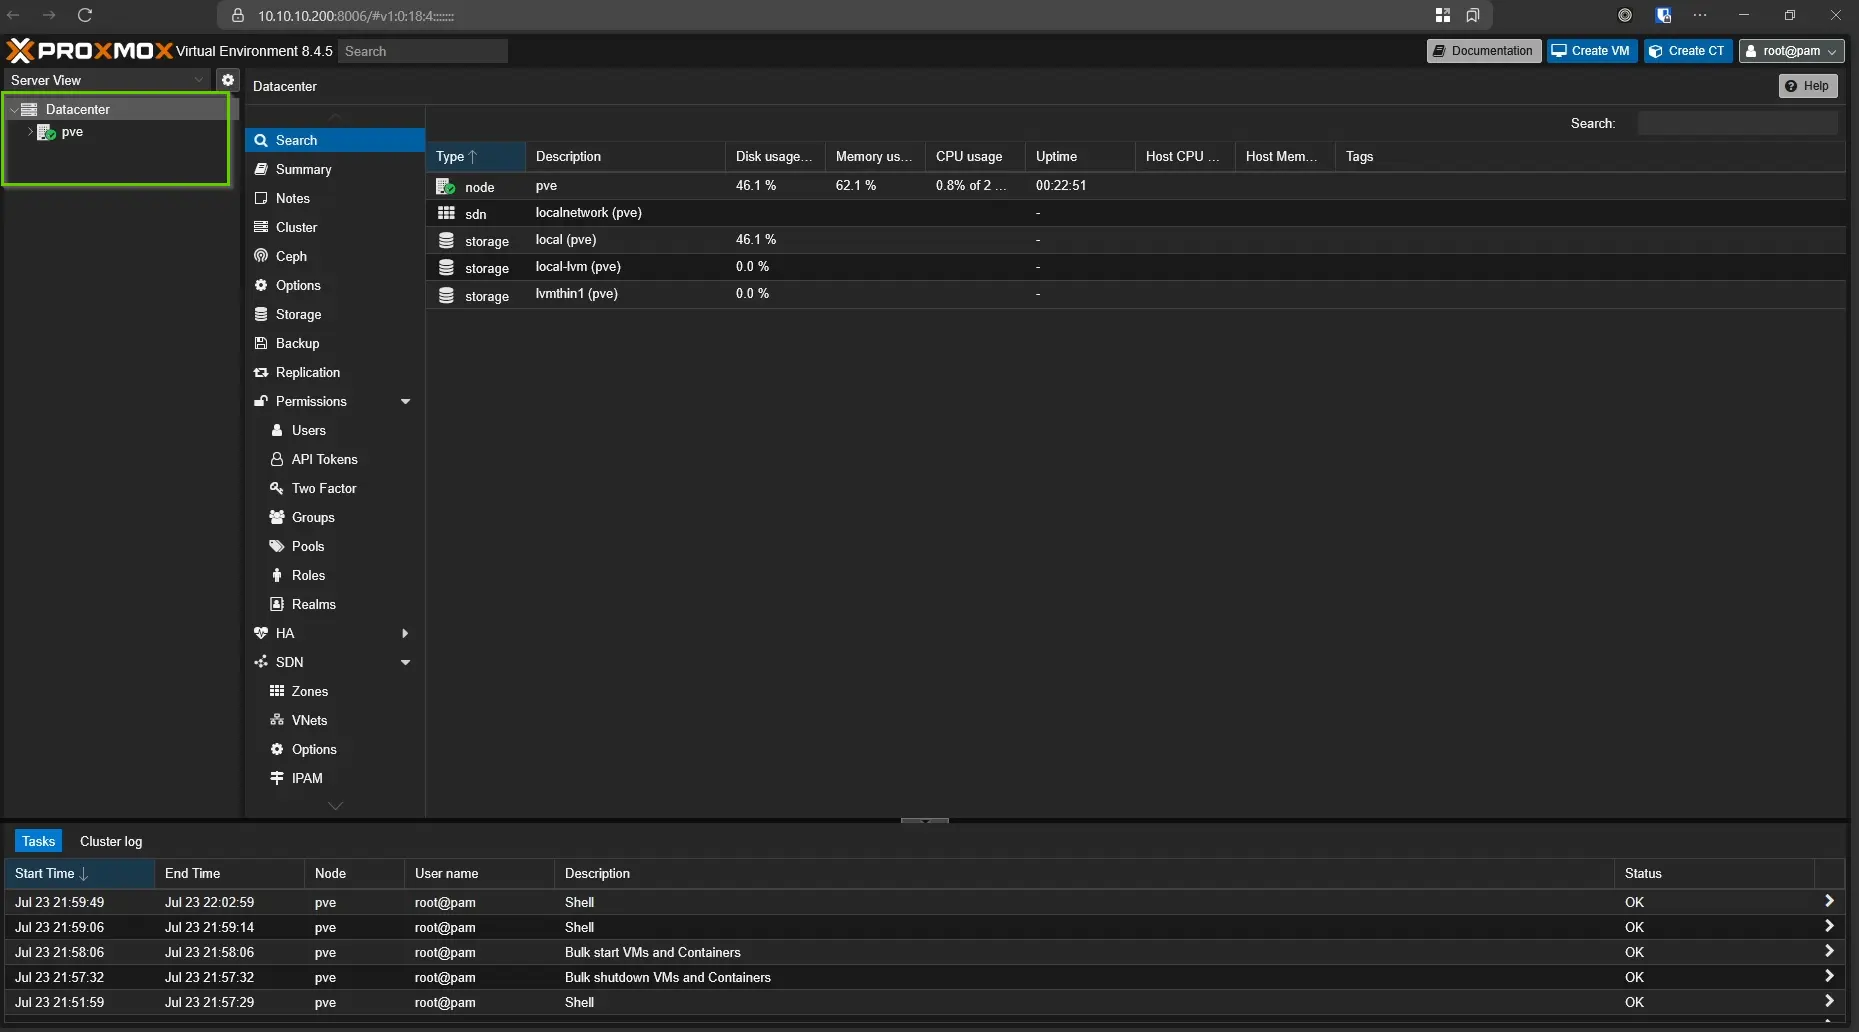
- On top right you will see
shell.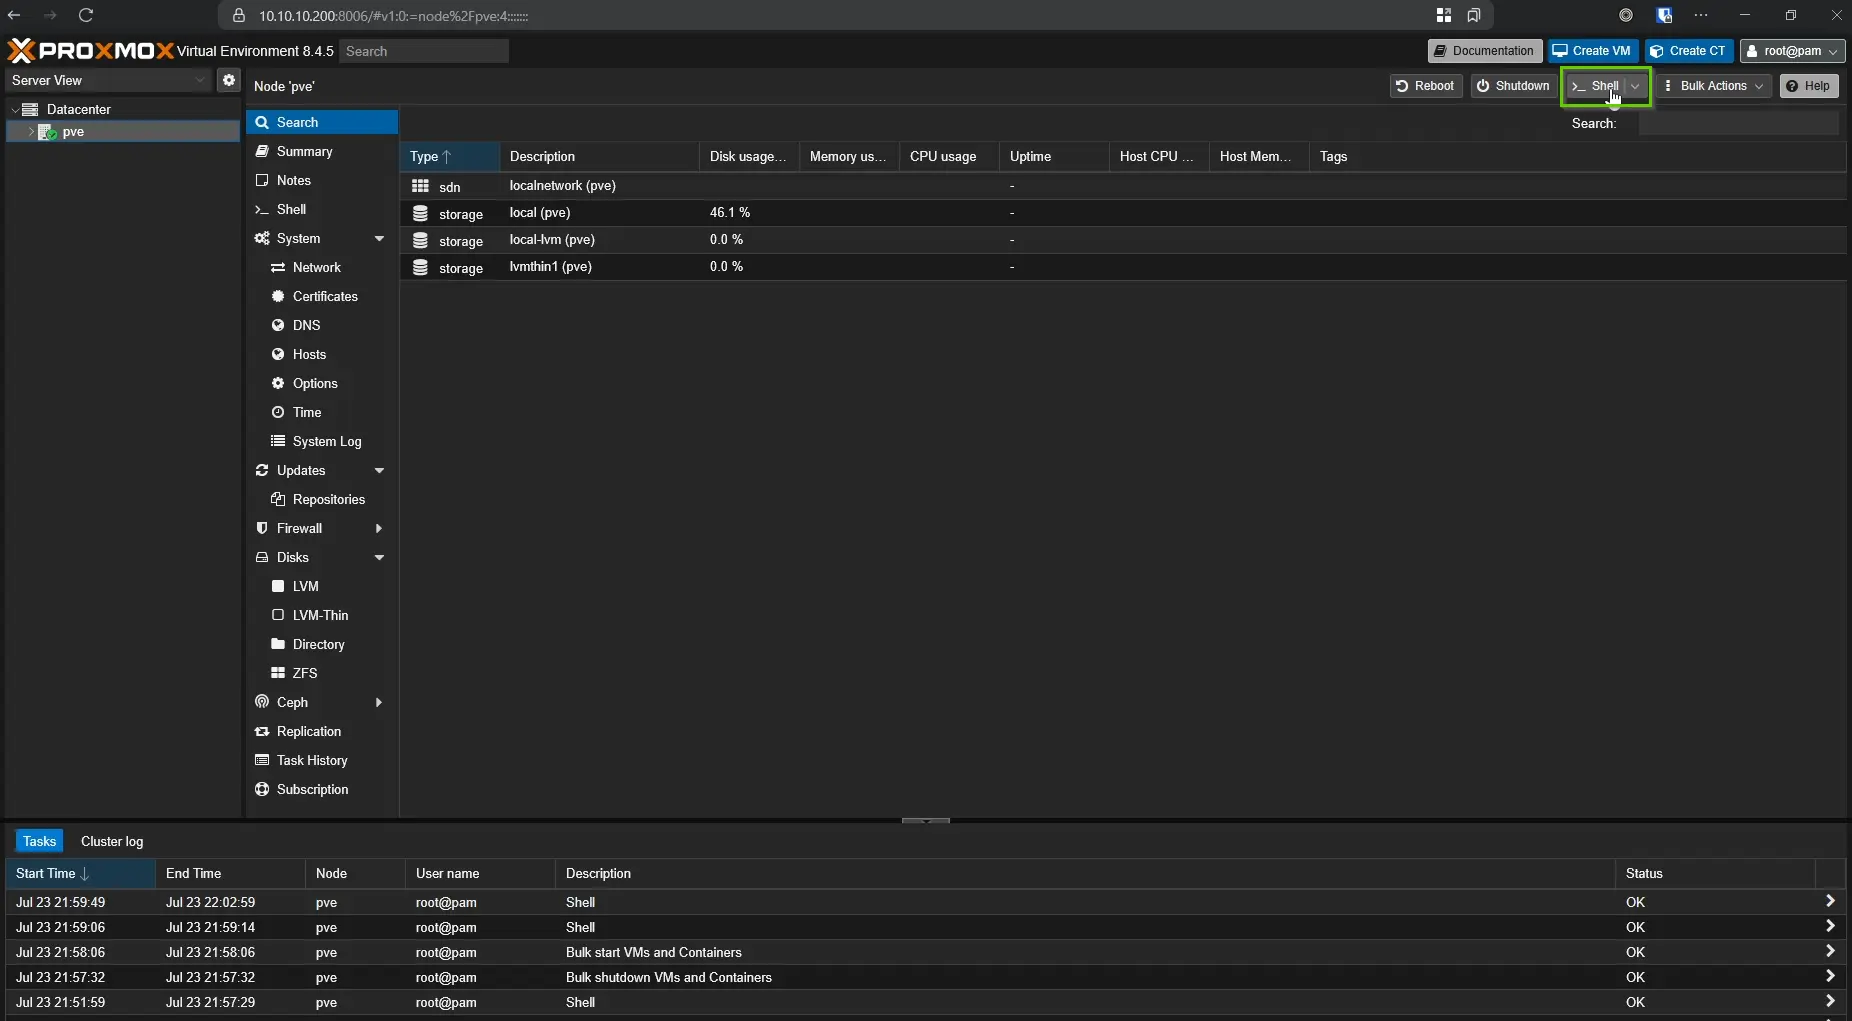
- Clicking
shellwill open a web shell where you can run the script.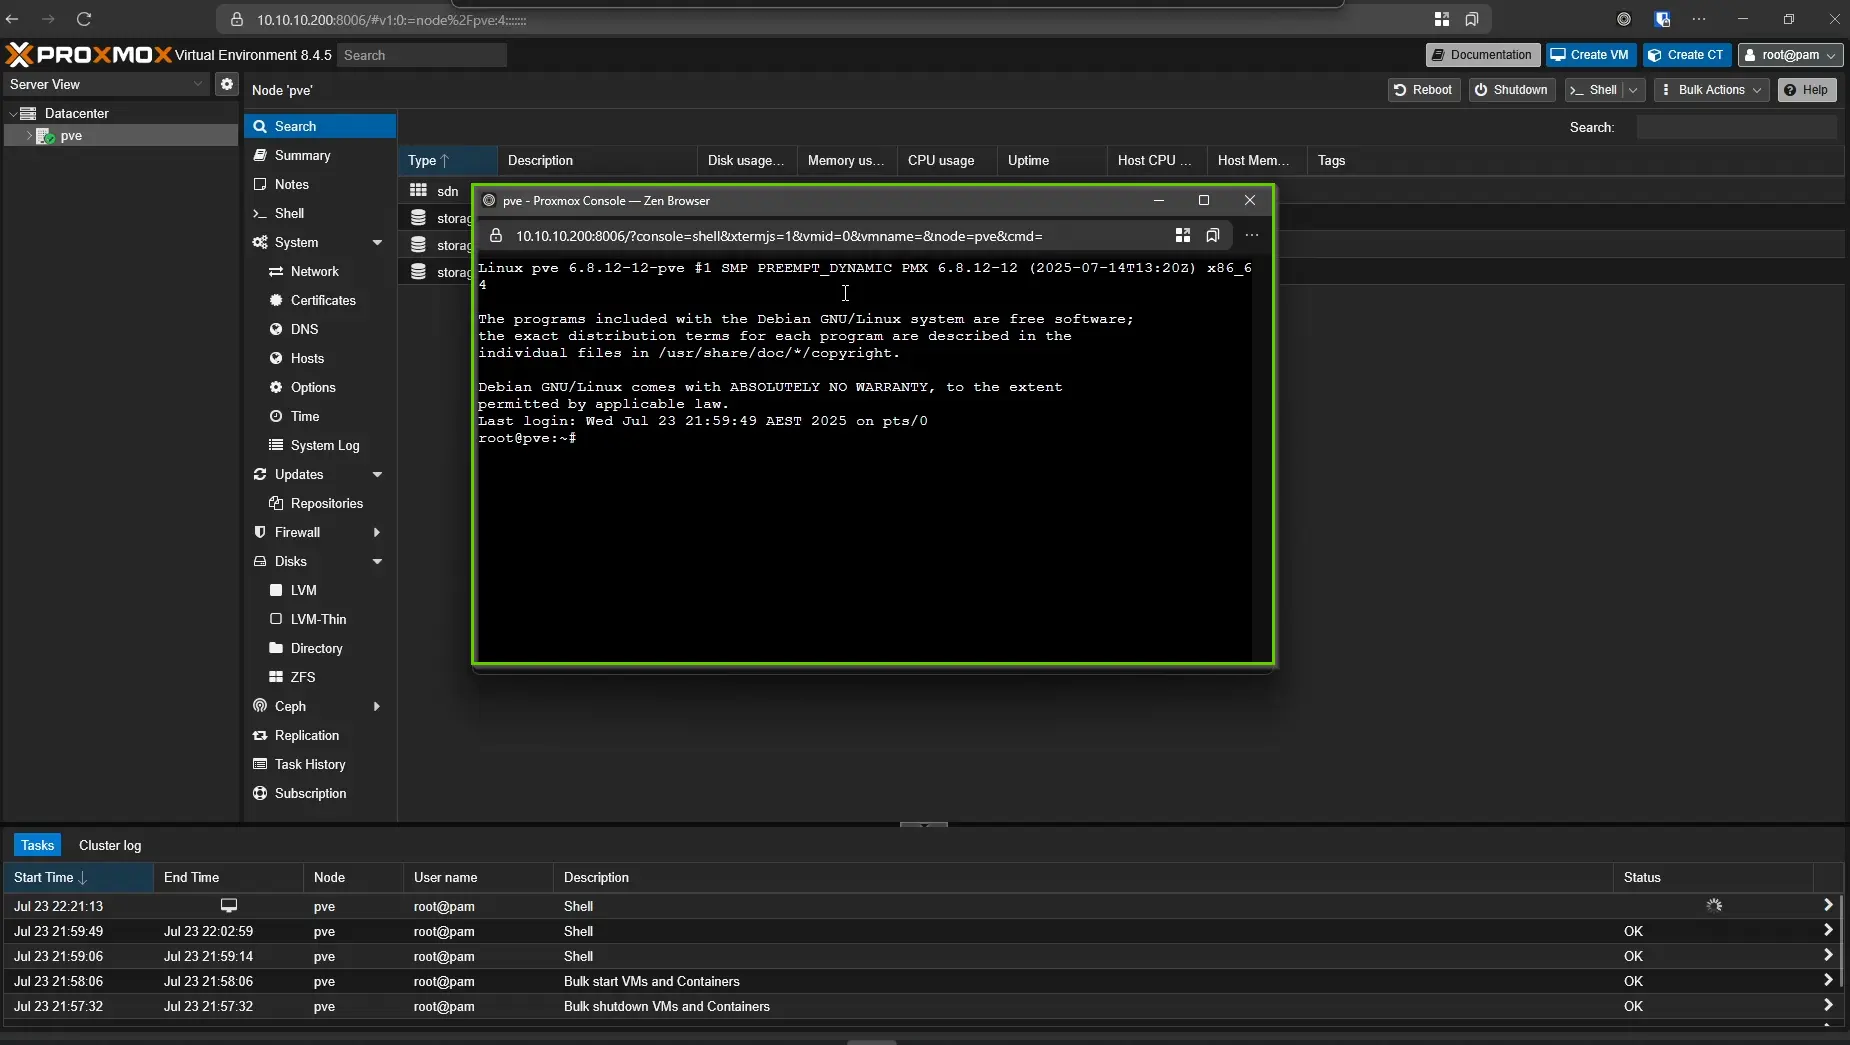
- Now either paste the script below or get it directly from “Helper Script Website”
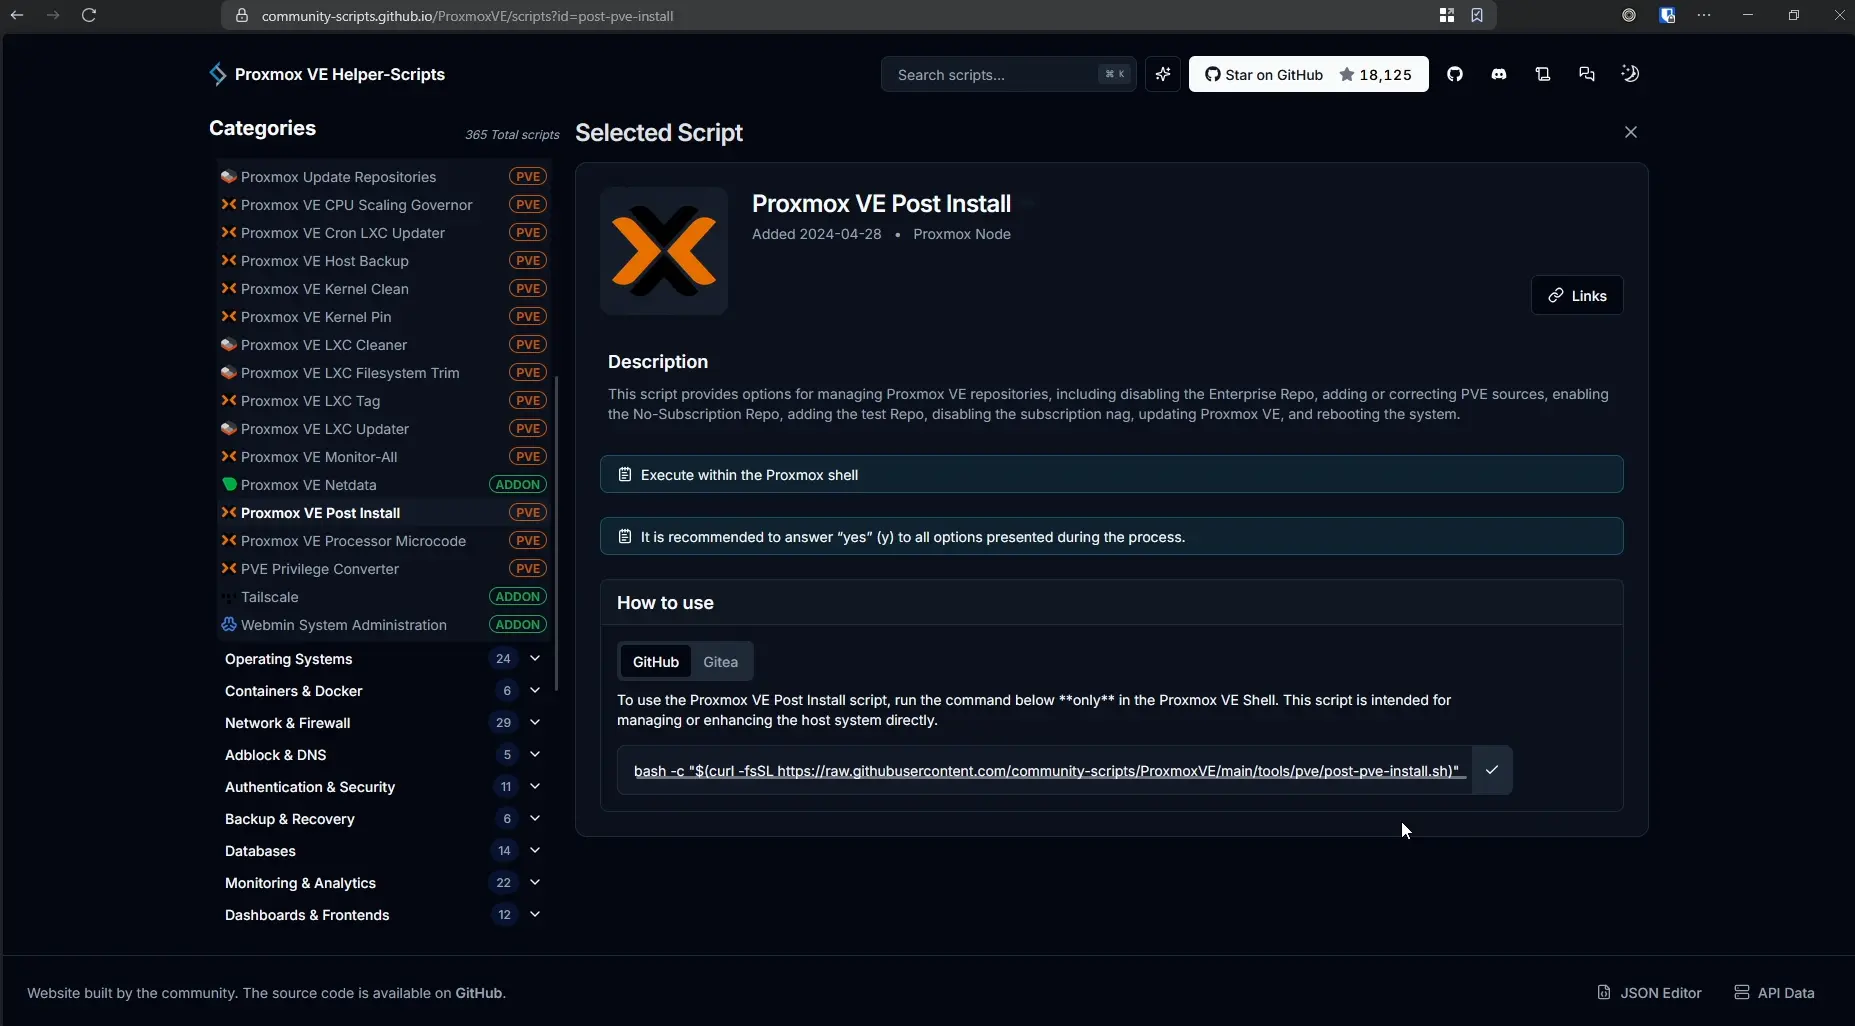
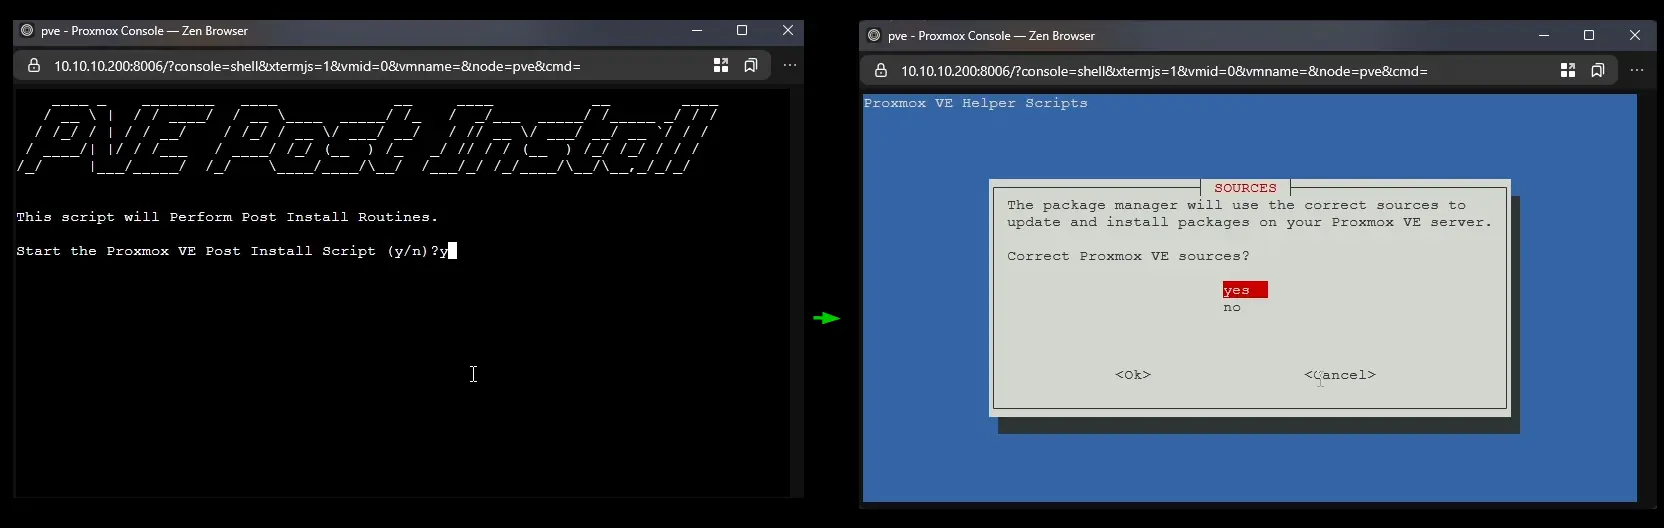
- Now it is recommended to select Yes on all prompts.
- It will reboot and your system is ready for VM.
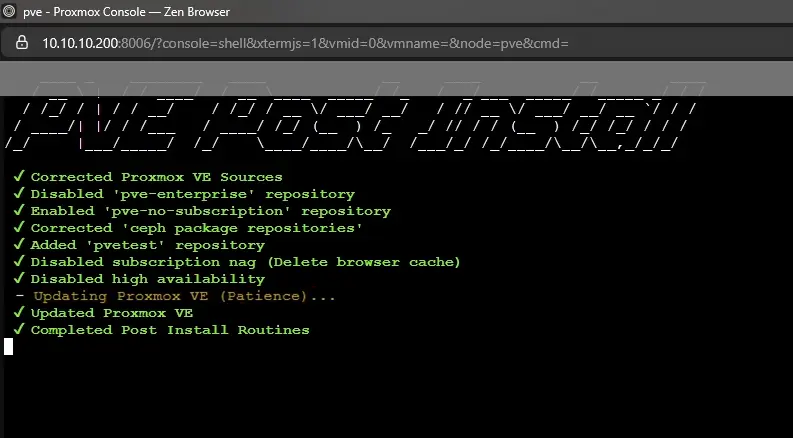
Now for further we will be installing VMs. Once Proxmox is up, a common next step is getting Docker running — see Installing Docker and Setting Permission.
Welcome to HomeLab.