I Finally Know If Anyone Reads This Blog
Google Analytics felt wrong. I self-host everything else so why am I sending my readers' data to Google? Here is how I set up Umami on my Oracle VM.

For a while I had Google Analytics on this blog. The ID is still in my _config.yml. But here is the thing. I self-host almost everything. My photos, my notes, my automation, my media. And then I turn around and send every visitor’s data to Google so I can see a number go up. That felt wrong.
I also applied for Google Ads a few months back and got rejected. Not enough content yet. So I am building up posts and will try again later. But in the meantime I still want to know if people are actually reading, which posts get traffic, where they come from. Without handing that data to Google.
Why Umami
Umami is self-hosted analytics. You run it yourself, data stays with you, no cookies, no GDPR banner needed. Lightweight script that loads fast. Dashboard shows you page views, visitors, referrers, countries, devices. Everything you actually care about.
The alternative I considered was Plausible. Same idea but paid unless you self-host it. Umami is free either way and the self-hosted version is the full thing, not a limited free tier.
Where to Run It
Here is the problem with running analytics on the homelab. The tracking script loads in your visitors’ browsers. When someone in Germany reads a post, their browser calls out to wherever you are hosting Umami to send the page view. If Umami is sitting on a VM under my desk, their browser cannot reach it.
I have a Cloudflare Tunnel running on the homelab which I use to expose n8n publicly for webhook reasons. I could have added Umami to that. But I already have an Oracle Cloud VM running WikiJS and Nginx Proxy Manager. It is already public, already has SSL sorted, already has NPM ready to proxy new services. Deploying Umami there was five minutes of work.
The SSL Problem
I ran into one issue. My DNS records for ashishghimire.com are behind Cloudflare proxy. When NPM tries to get a Let’s Encrypt certificate it does the HTTP challenge. Cloudflare intercepts that and the request never reaches my Oracle VM. Certificate request fails.
The fix is a Cloudflare Origin Certificate. You generate it in the Cloudflare dashboard, it is valid for 15 years, covers all subdomains with a wildcard. Install it in NPM as a custom certificate, set Cloudflare SSL mode to Full (Strict), done. No more renewal headaches either.
Deploying Umami
Separate compose file on the Oracle VM, Umami joins the existing wiki-net Docker network so NPM can reach it, its own Postgres on an internal network. Then add a proxy host in NPM pointing umami.ashishghimire.com to port 3000. Add the DNS record in Cloudflare.
First login is admin / umami. Change that immediately.
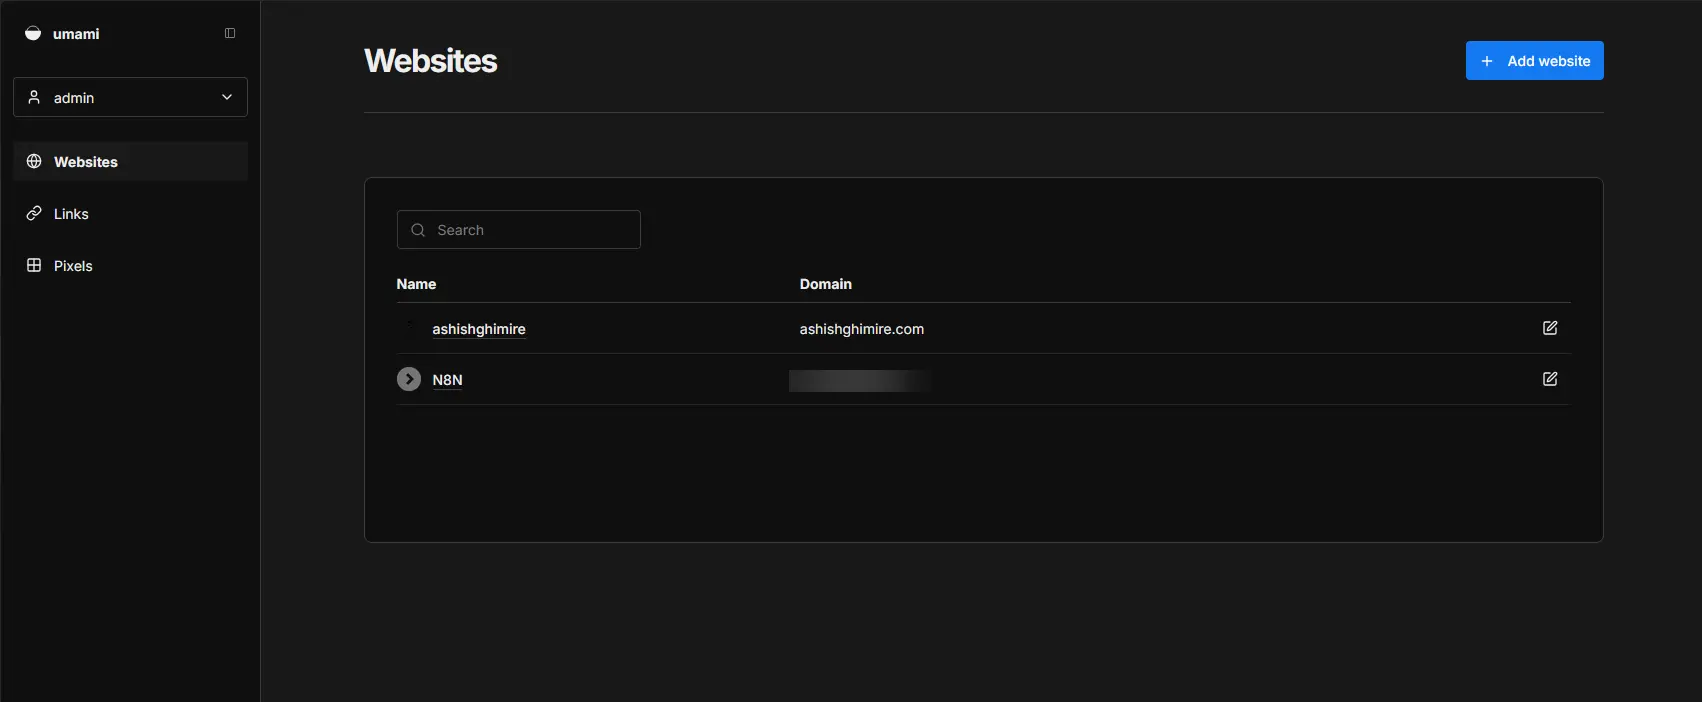
Add your site in Settings, copy the tracking script, and drop it into your Jekyll _includes/head.html. One file, one script tag. Chirpy picks it up and injects it into every page.
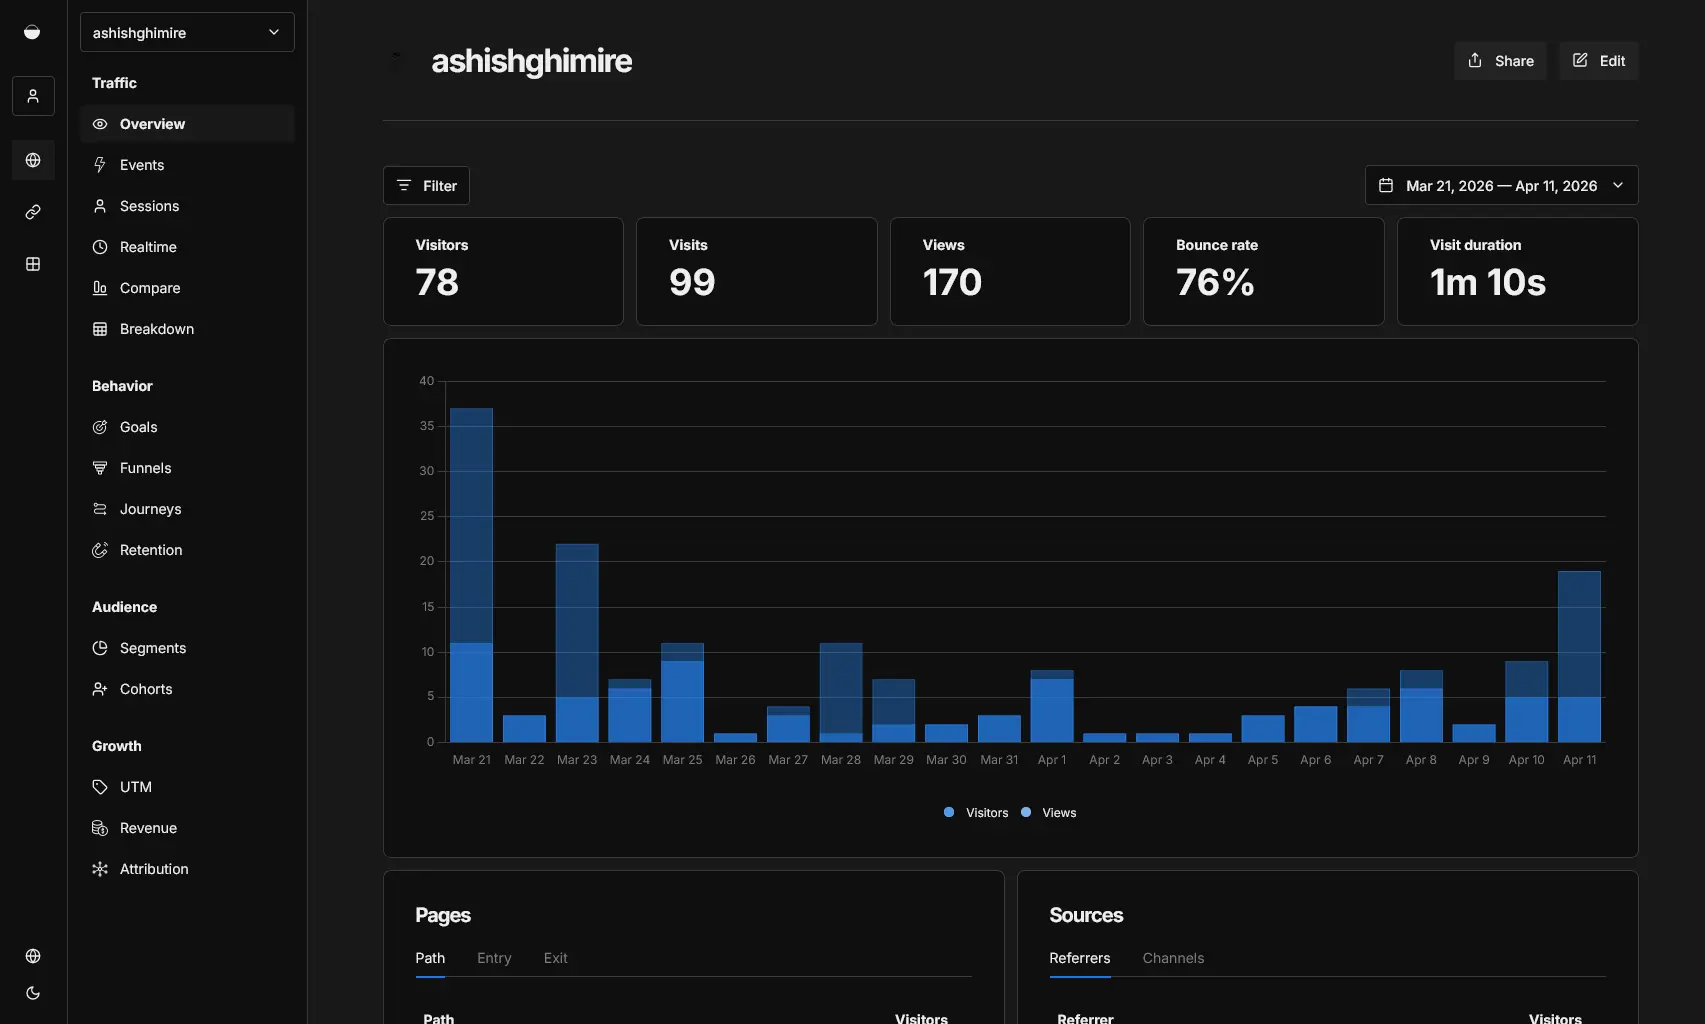
What I Can See Now
Real visitors, page by page. Which posts get traffic, which get nothing. Where people come from: direct, search, social. What country. Desktop or mobile.
Google Analytics was still running alongside this for a bit. After a week I am turning it off. I do not need two analytics systems and I definitely do not need the one that sends data to Google.
Give it a week and see what the numbers look like. If posts are getting read, great. If not, at least now I know for sure instead of guessing.
The Short Version
- Google Analytics collects your readers’ data and sends it to Google. Umami keeps it with you.
- If you self-host, Umami needs to be publicly reachable — either a cloud VM or a Cloudflare Tunnel.
- Cloudflare-proxied domains break Let’s Encrypt HTTP challenge. Use a Cloudflare Origin Certificate instead.
- Jekyll: one
_includes/head.htmlfile with the script tag is all you need.